Make Gluten-Free Bread with your KitchenAid Bread Bowl!
The KitchenAid Bread Bowl is an attachment that fits KitchenAid 4.5-5qt. Tilt-Head Stand Mixers. It enables you to mix, rise and bake delicious bread – all right in the bowl! Simple!
Why Bake in a Bread Bowl?
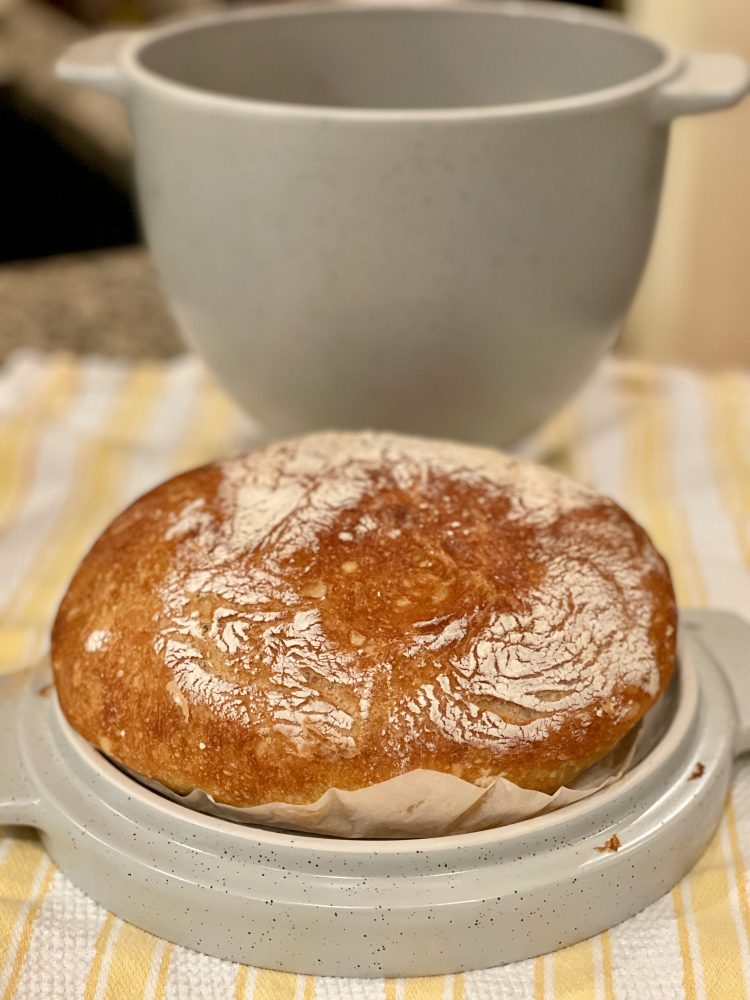
Much like baking in a covered dutch oven or a baking cloche – the covered baking environment creates a “steam oven” environment similar to those in professional bakeries. The steam baking gives your finished loaf that professional crisp crust and moist chewy interior texture. (The bowl is removed during the final minutes of baking to brown up the crust.)
Not Gluten-Free?
Click HERE for 5 Delicious Traditional Bread Bowl Recipes from KitchenAid.
This recipe was adjusted and adapted from The Ultimate Gluten Free Bread Recipe from the blog, The Loopy Whisk. I adjusted the ingredients to use what I could find at my local grocery store and I adapted the instructions for use with the KitchenAid Bread Bowl Attachment.
Gluten-Free Ingredients:
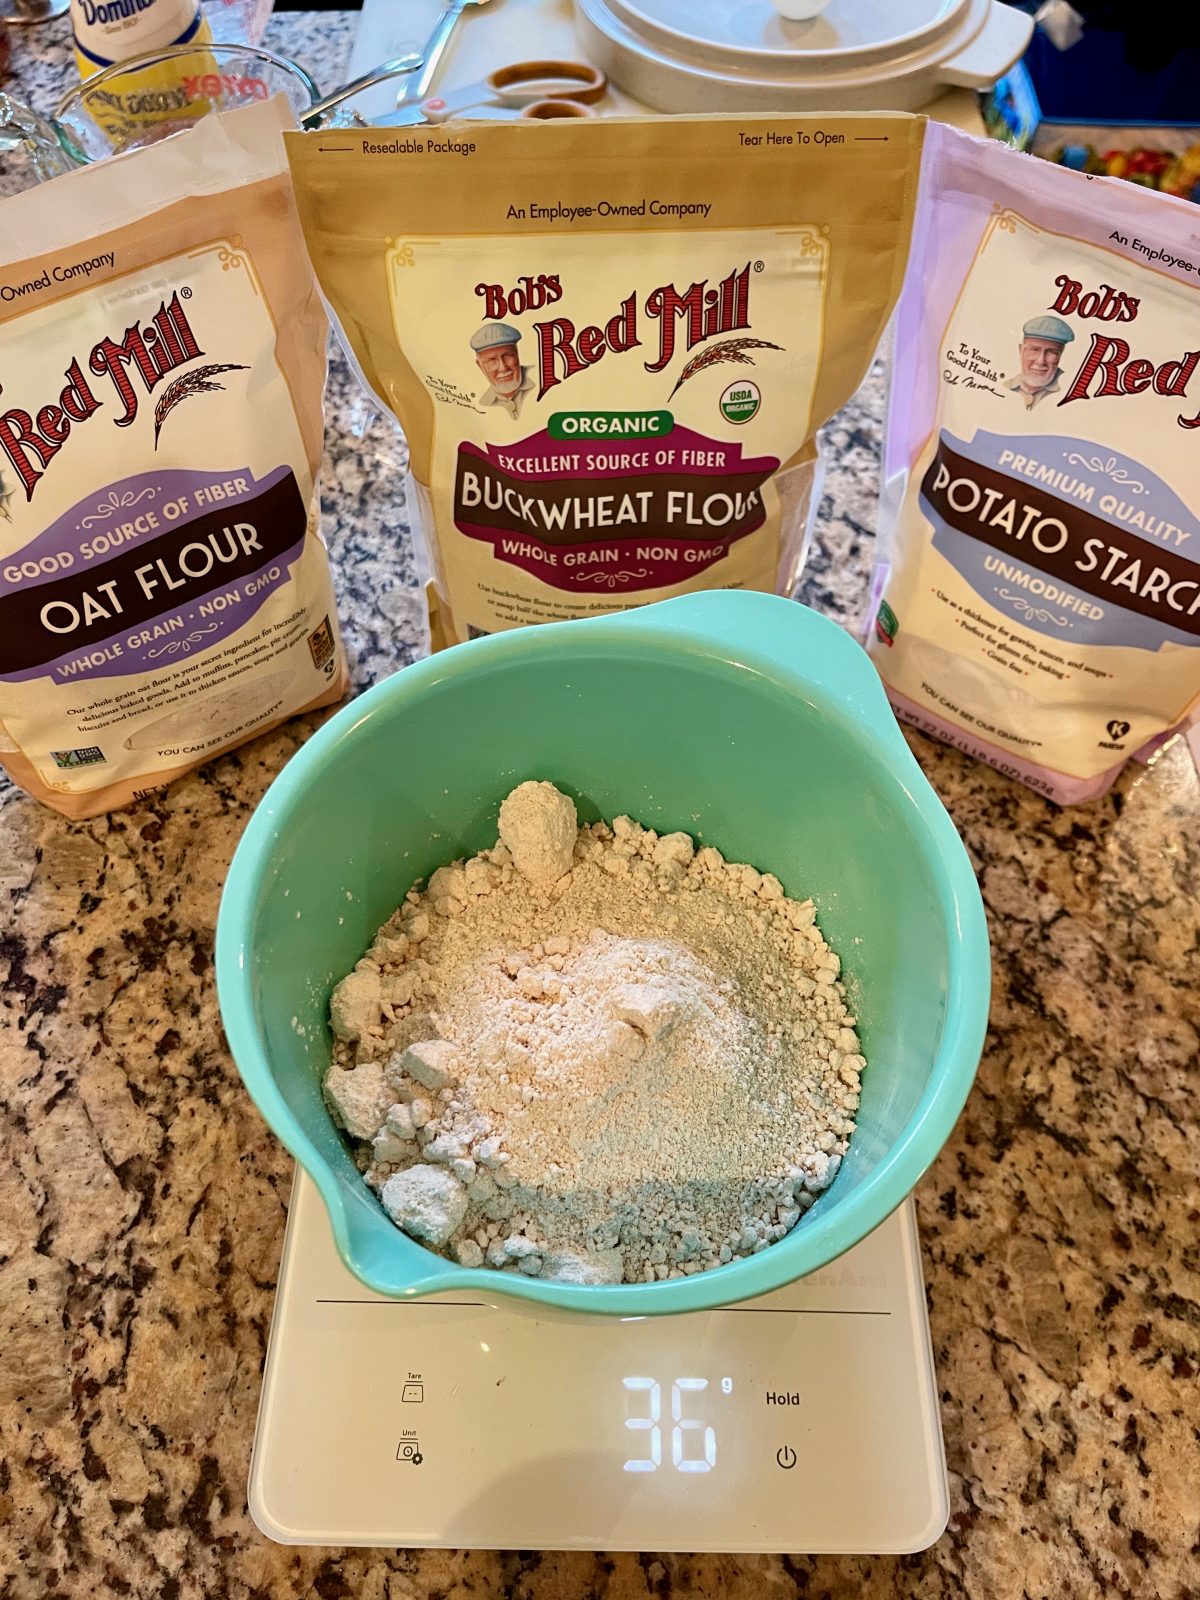
I was able to find all of these ingredients at my local Wegmans grocery store. Some in the health food/gluten-free sections. If you can’t find at your local markets, you can search and order online (whole husk psyllium and flours)
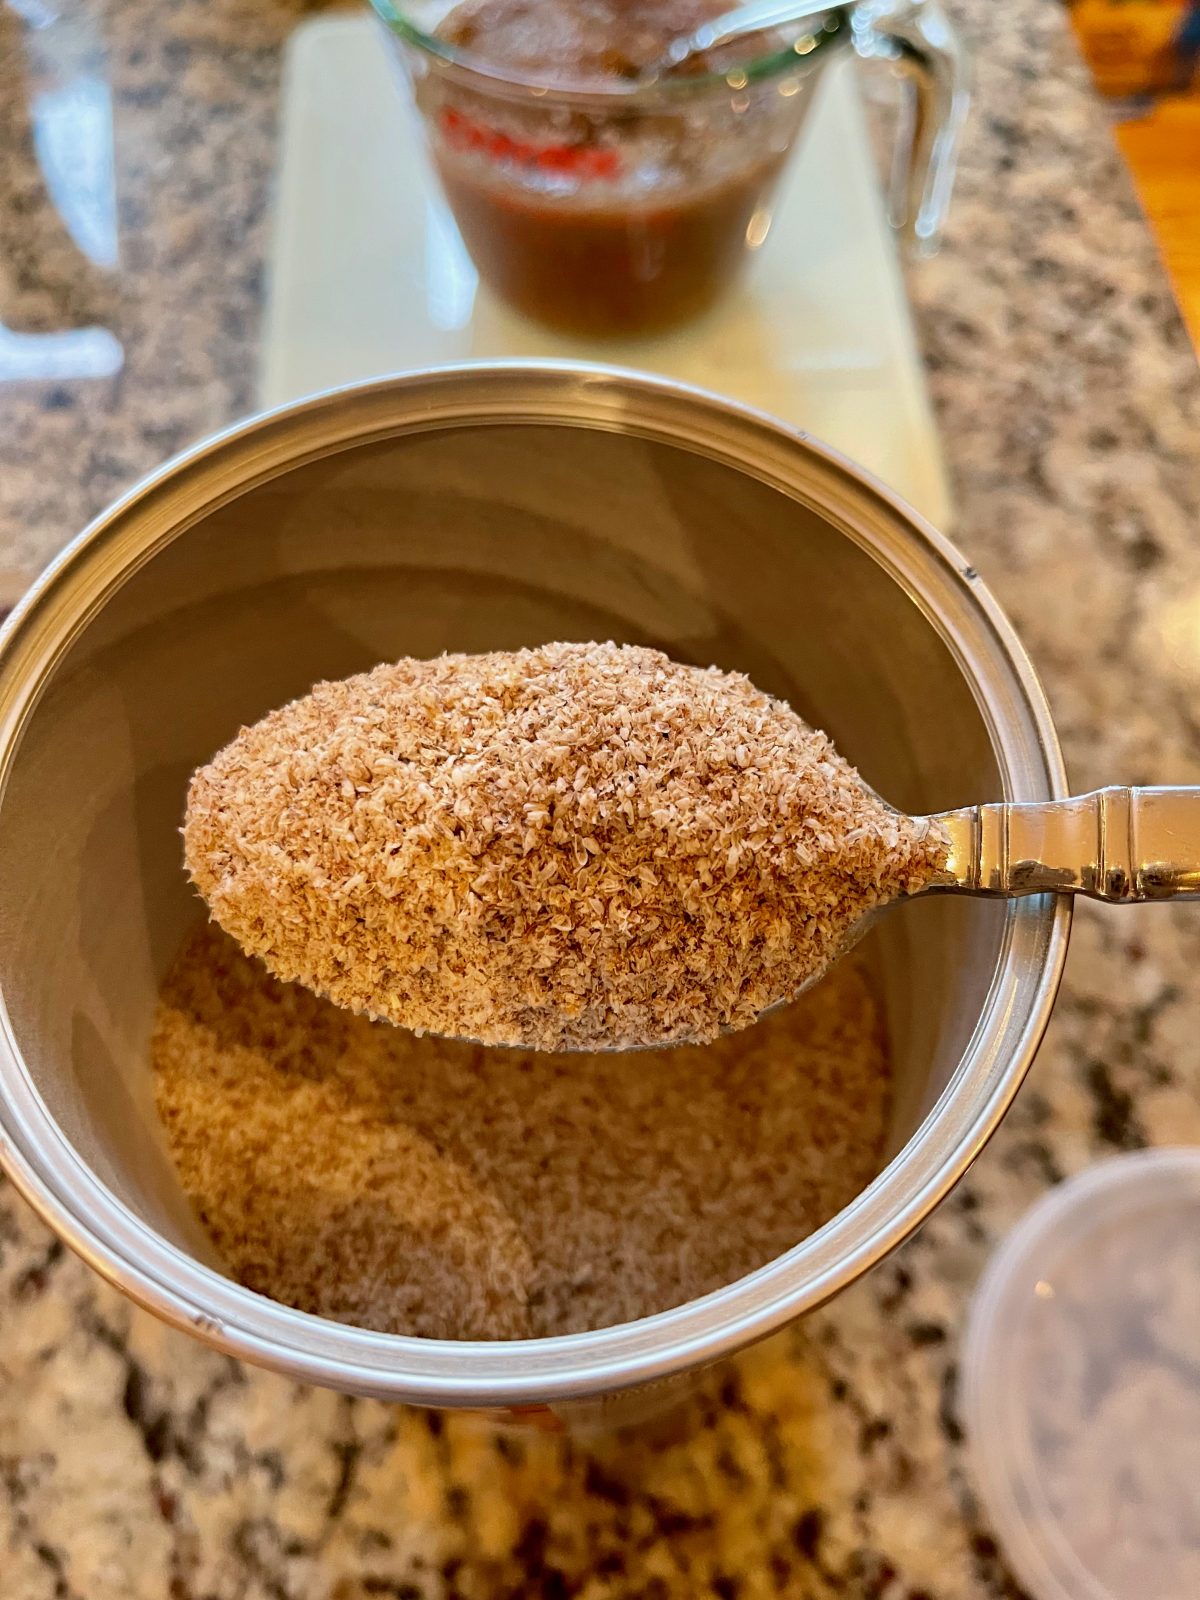
Psyllium Husk “Rough Husk” texture Gluten-Free Flours
Bloom Yeast & Create Psyllium Gel:
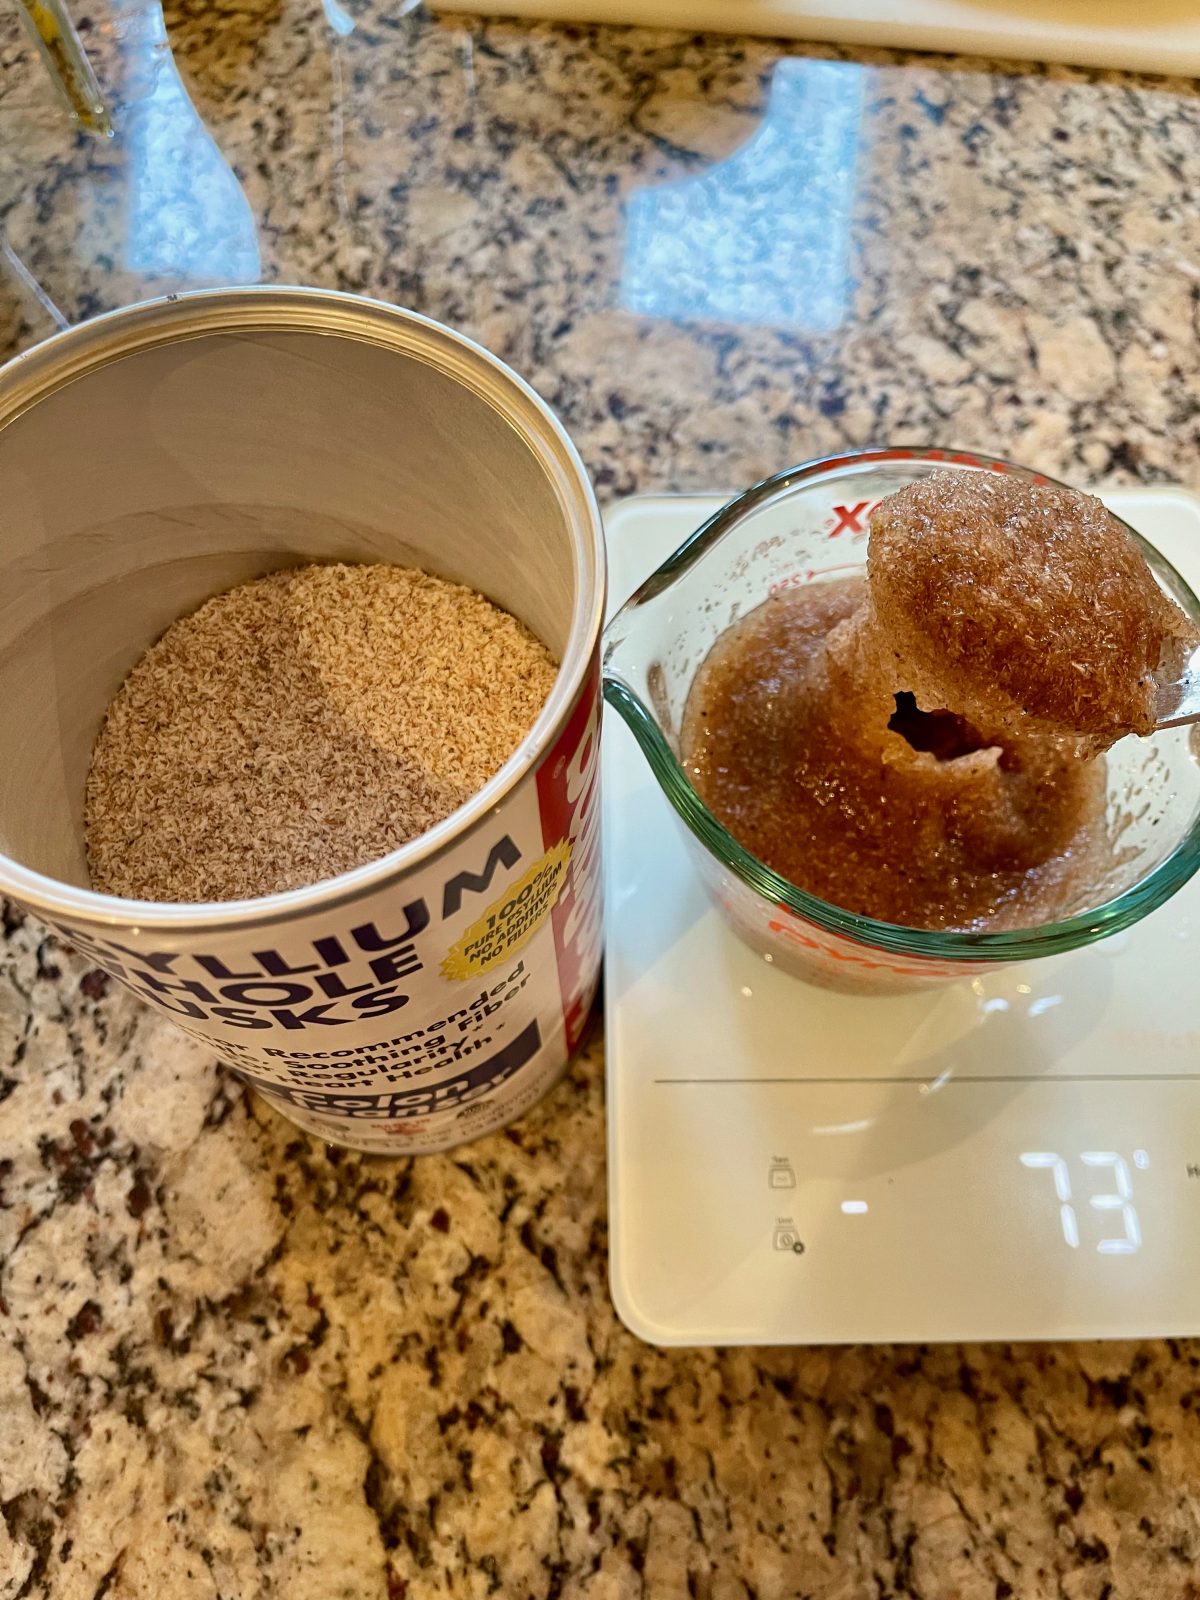
Psyllium is a gluten-free fiber that comes from the Desert Plantago and Desert Indianwheat plants. When mixed with water it creates a thick gel. (It’s commonly used as a laxative.) In baking gluten-free bread, it acts as a binder and texture enhancer. When added to the gluten-free bread recipe, the gel allows you to knead the dough as you would traditional dough.
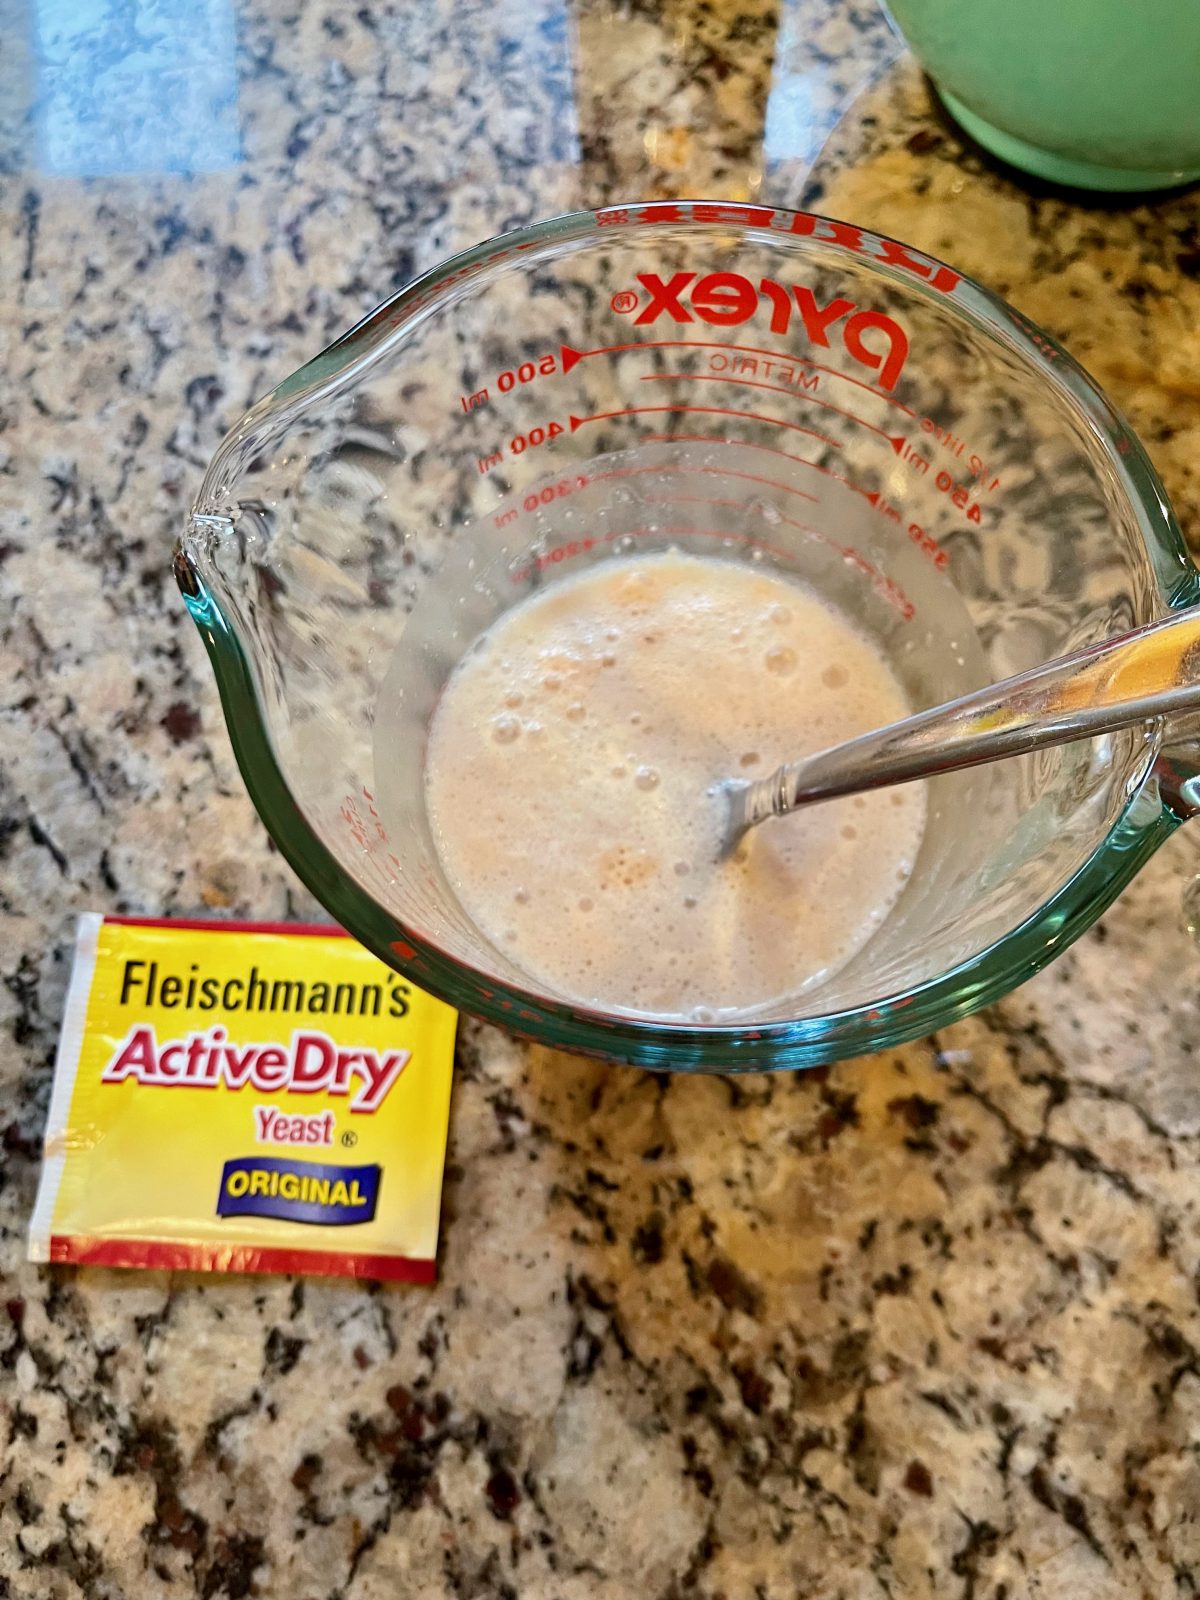
Bloom Yeast with Warm Water and Sugar Combine Psyllium Husk with Water to Form Gel
Step-By-Step Recipe Photos:
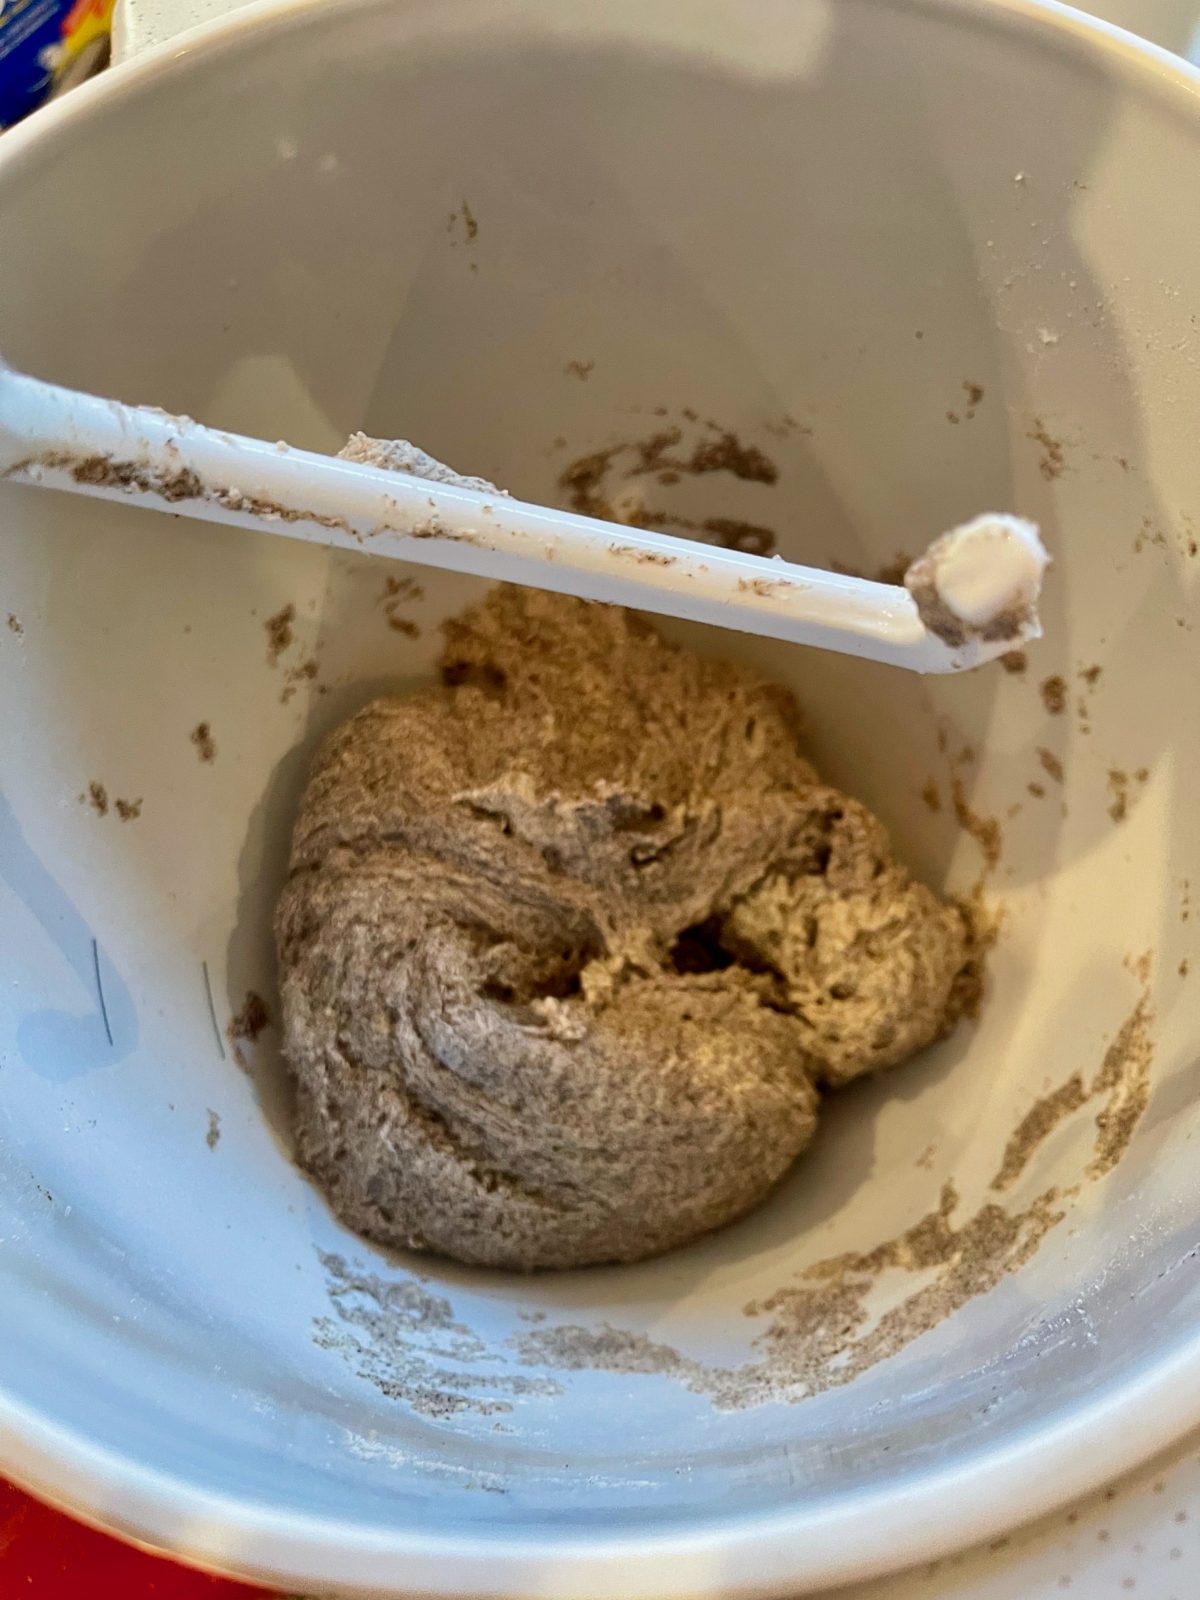
Mix & Knead Dough:
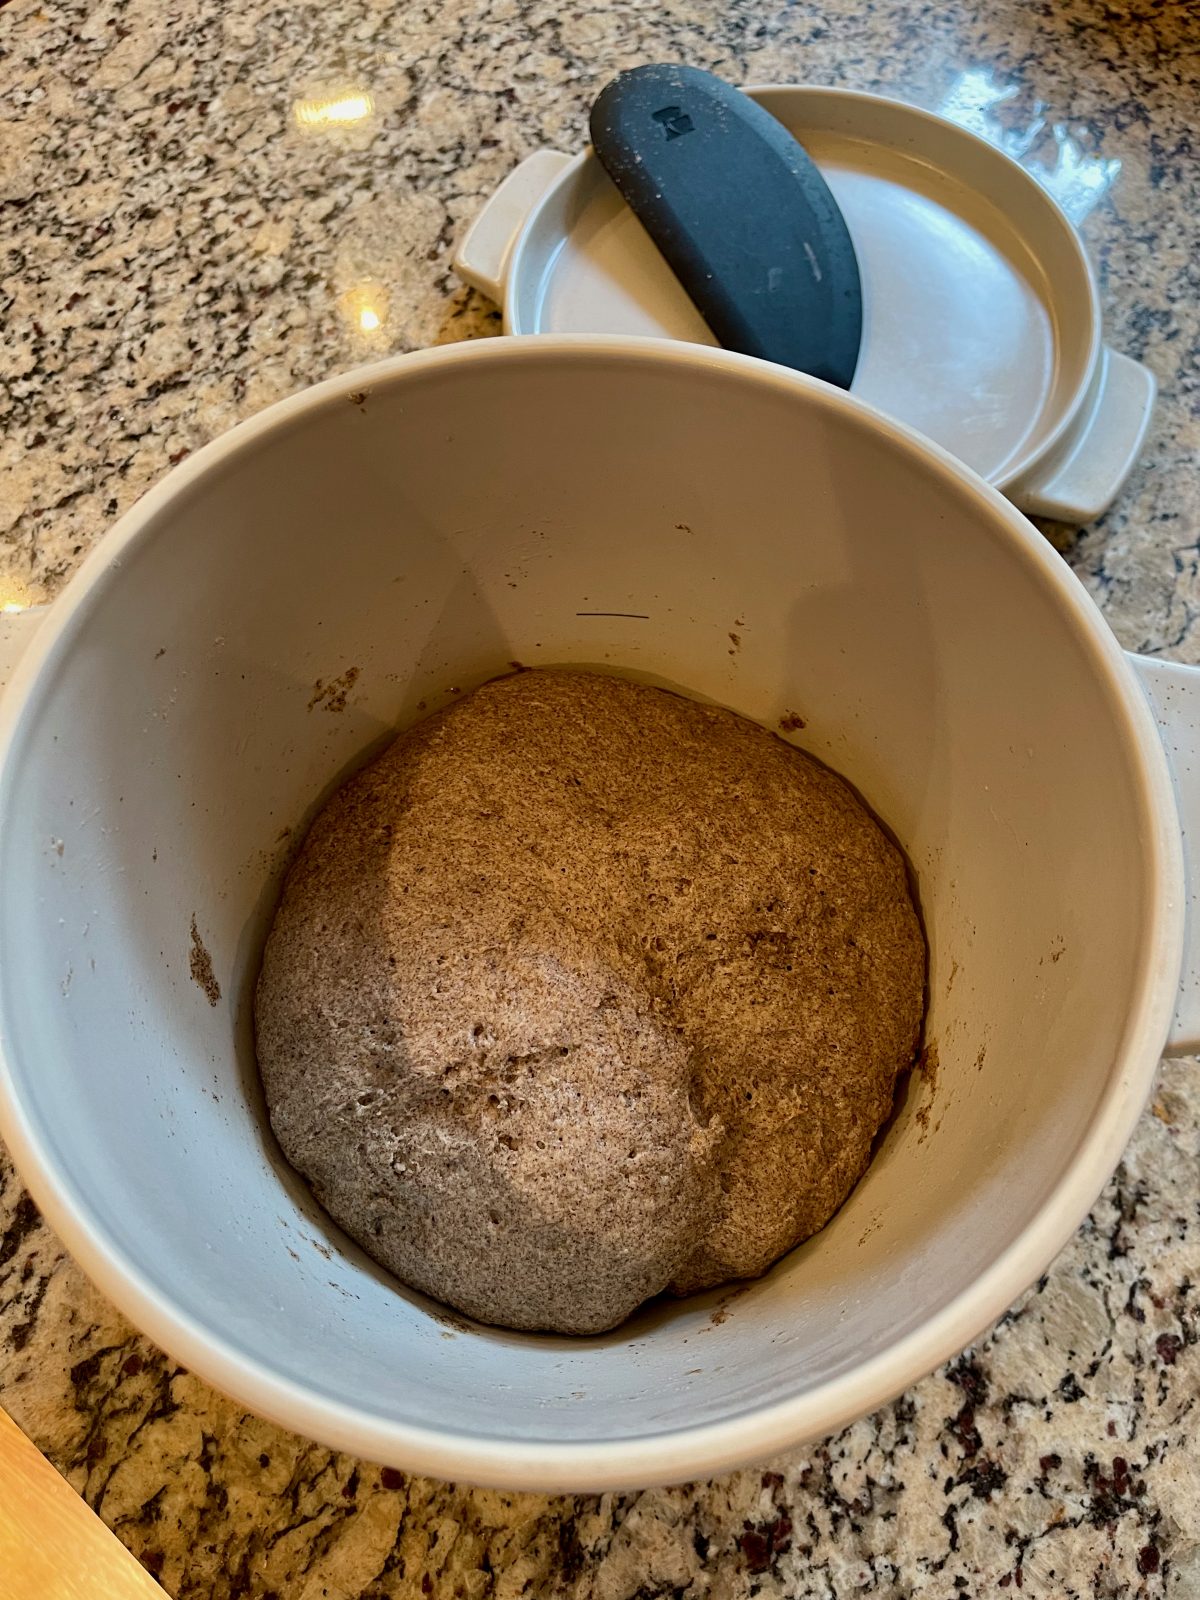
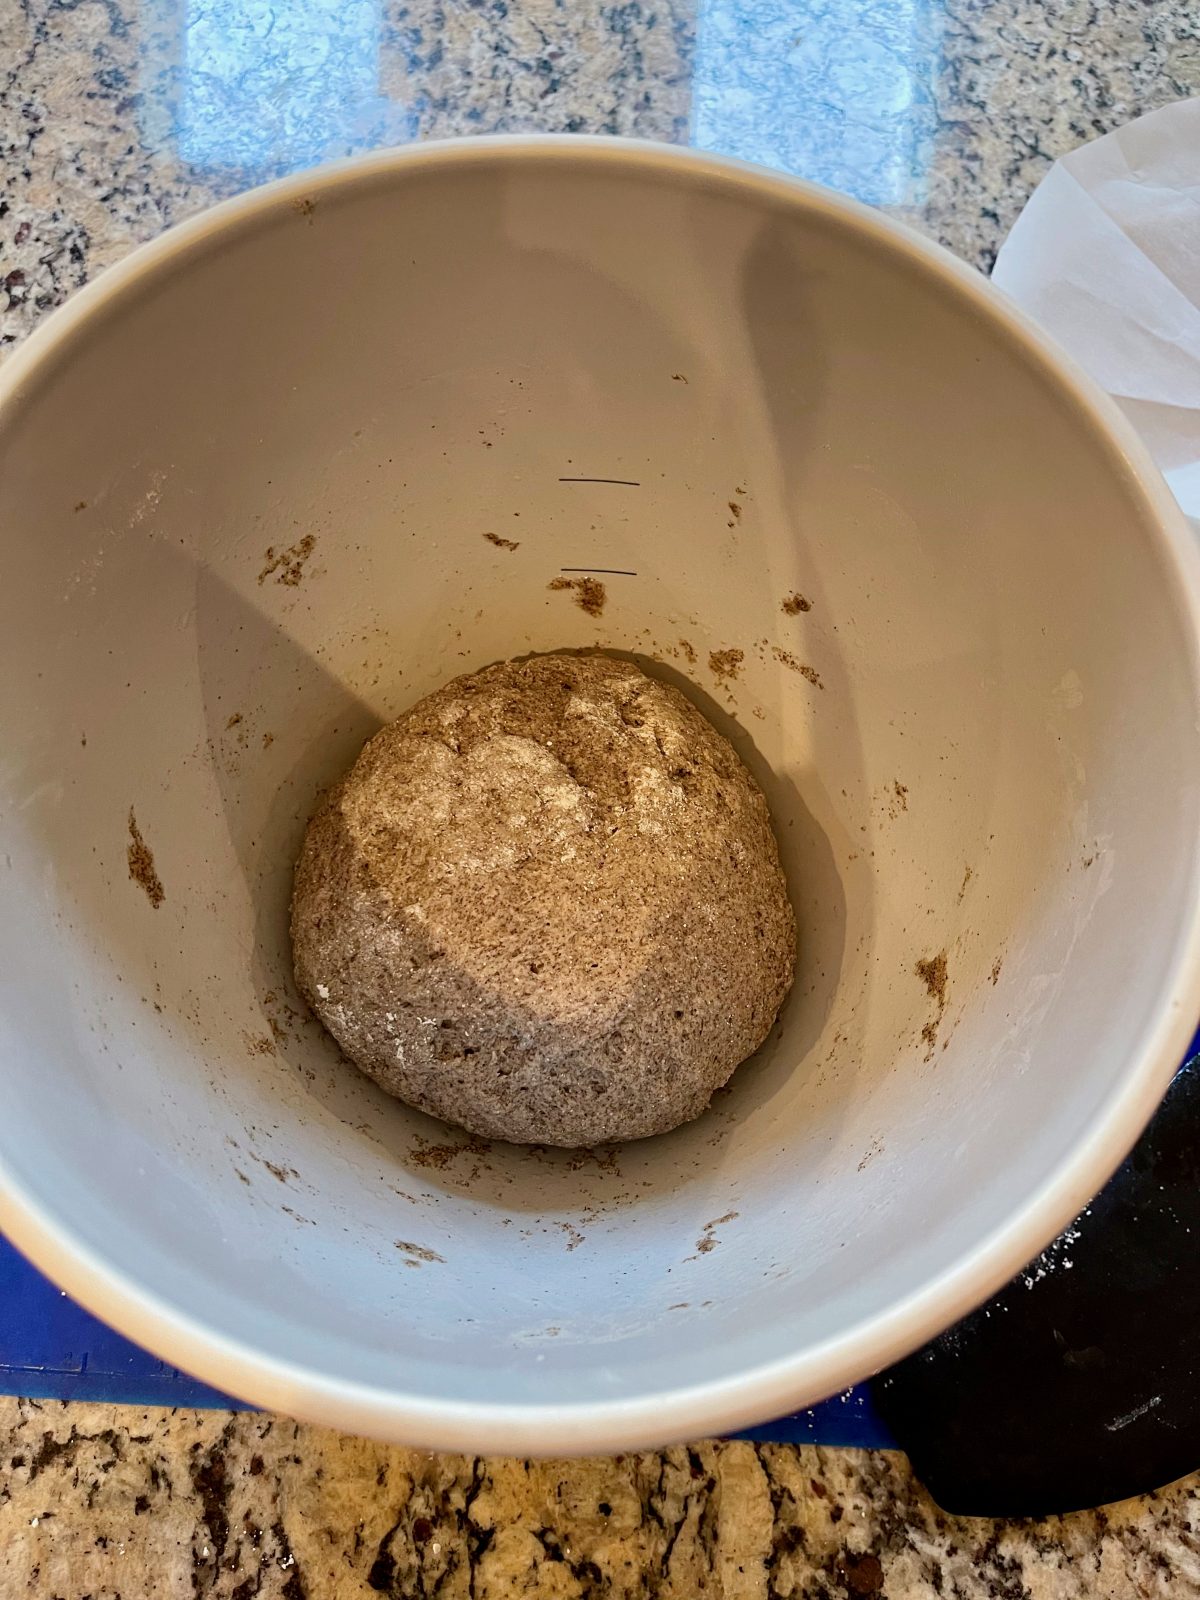
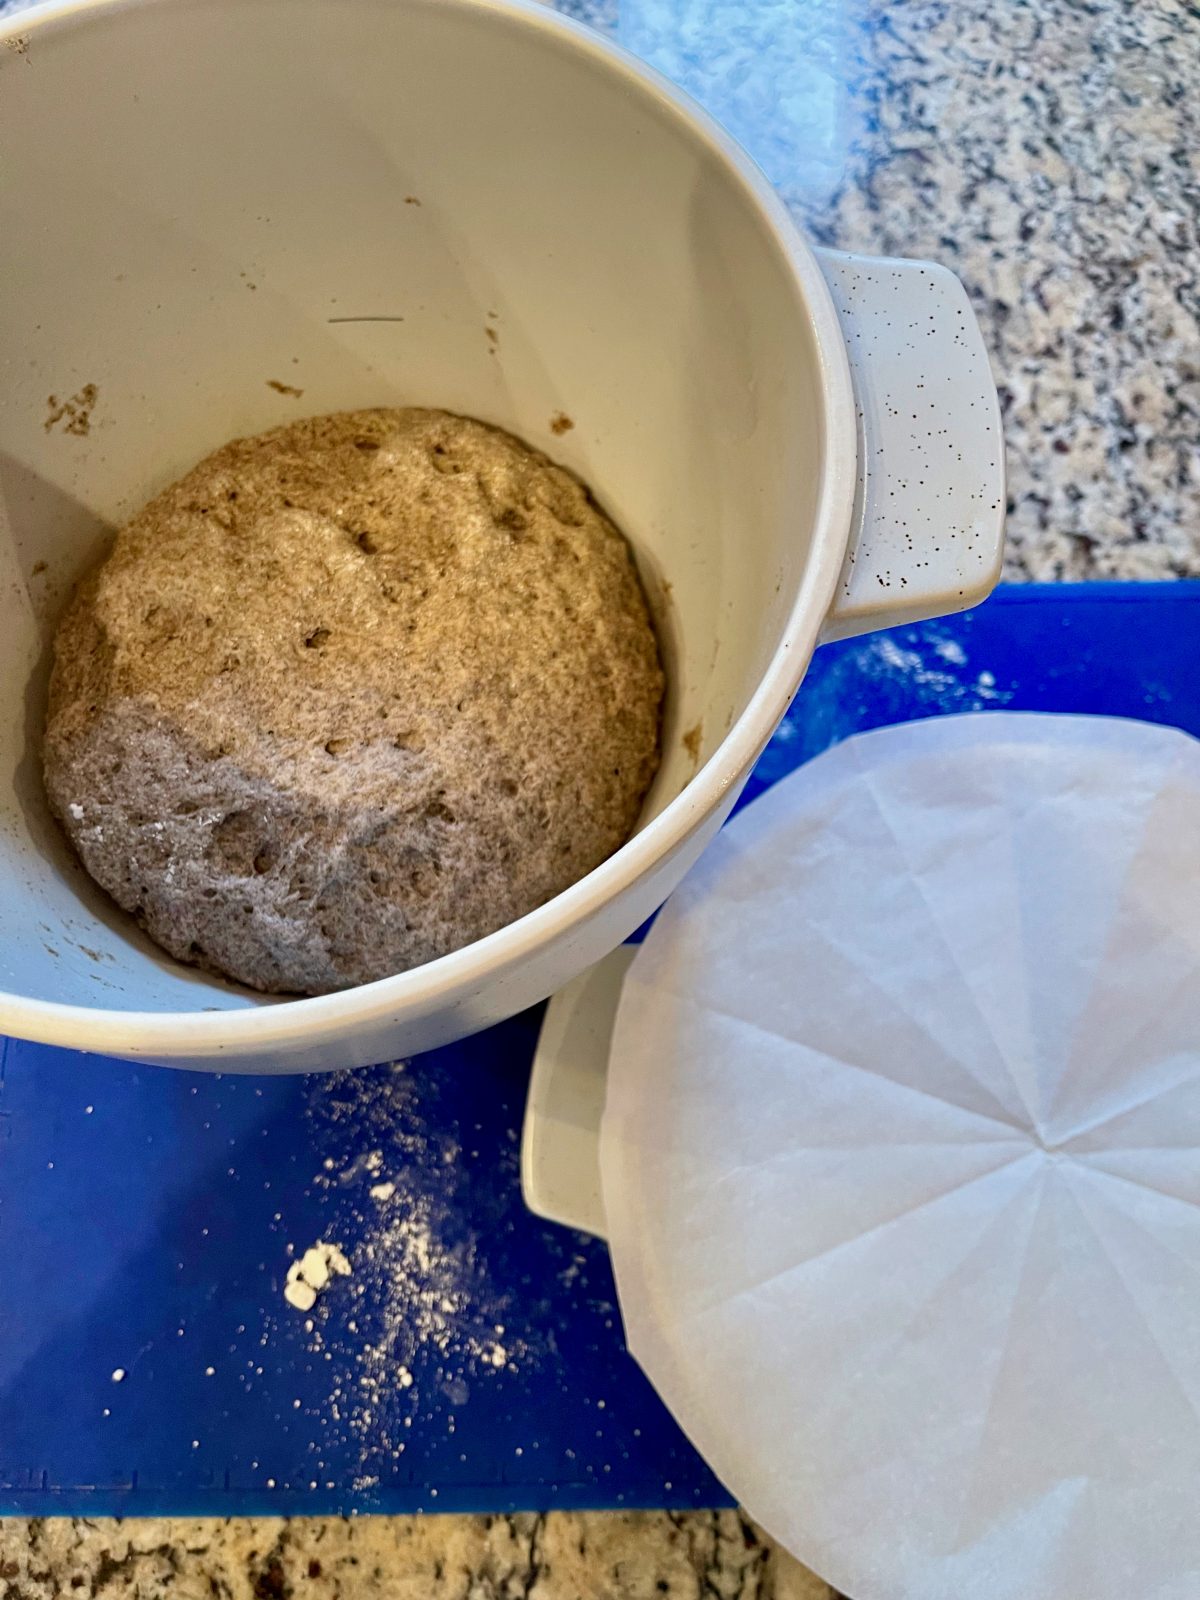
Second Rise:
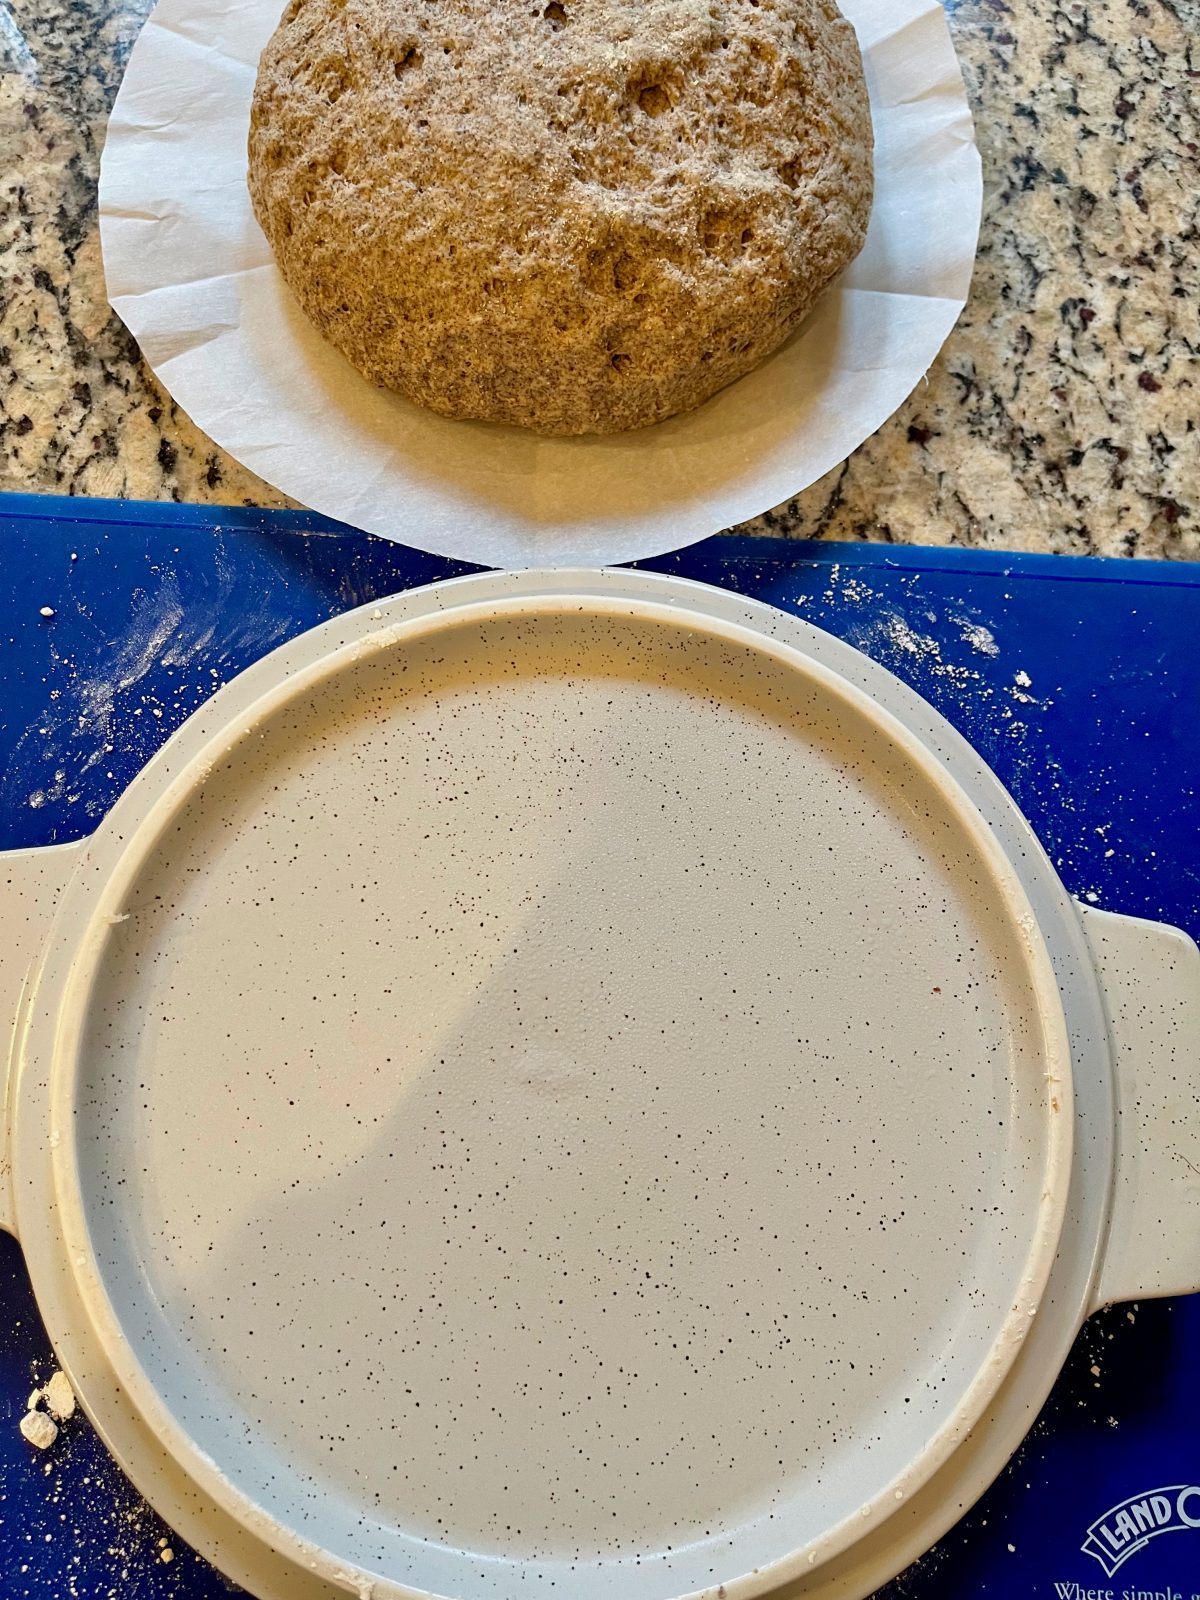
Second Dough Rise 1 Hour or Until About Doubled Line Baking Side of Lid with Parchment
Bake Loaf:
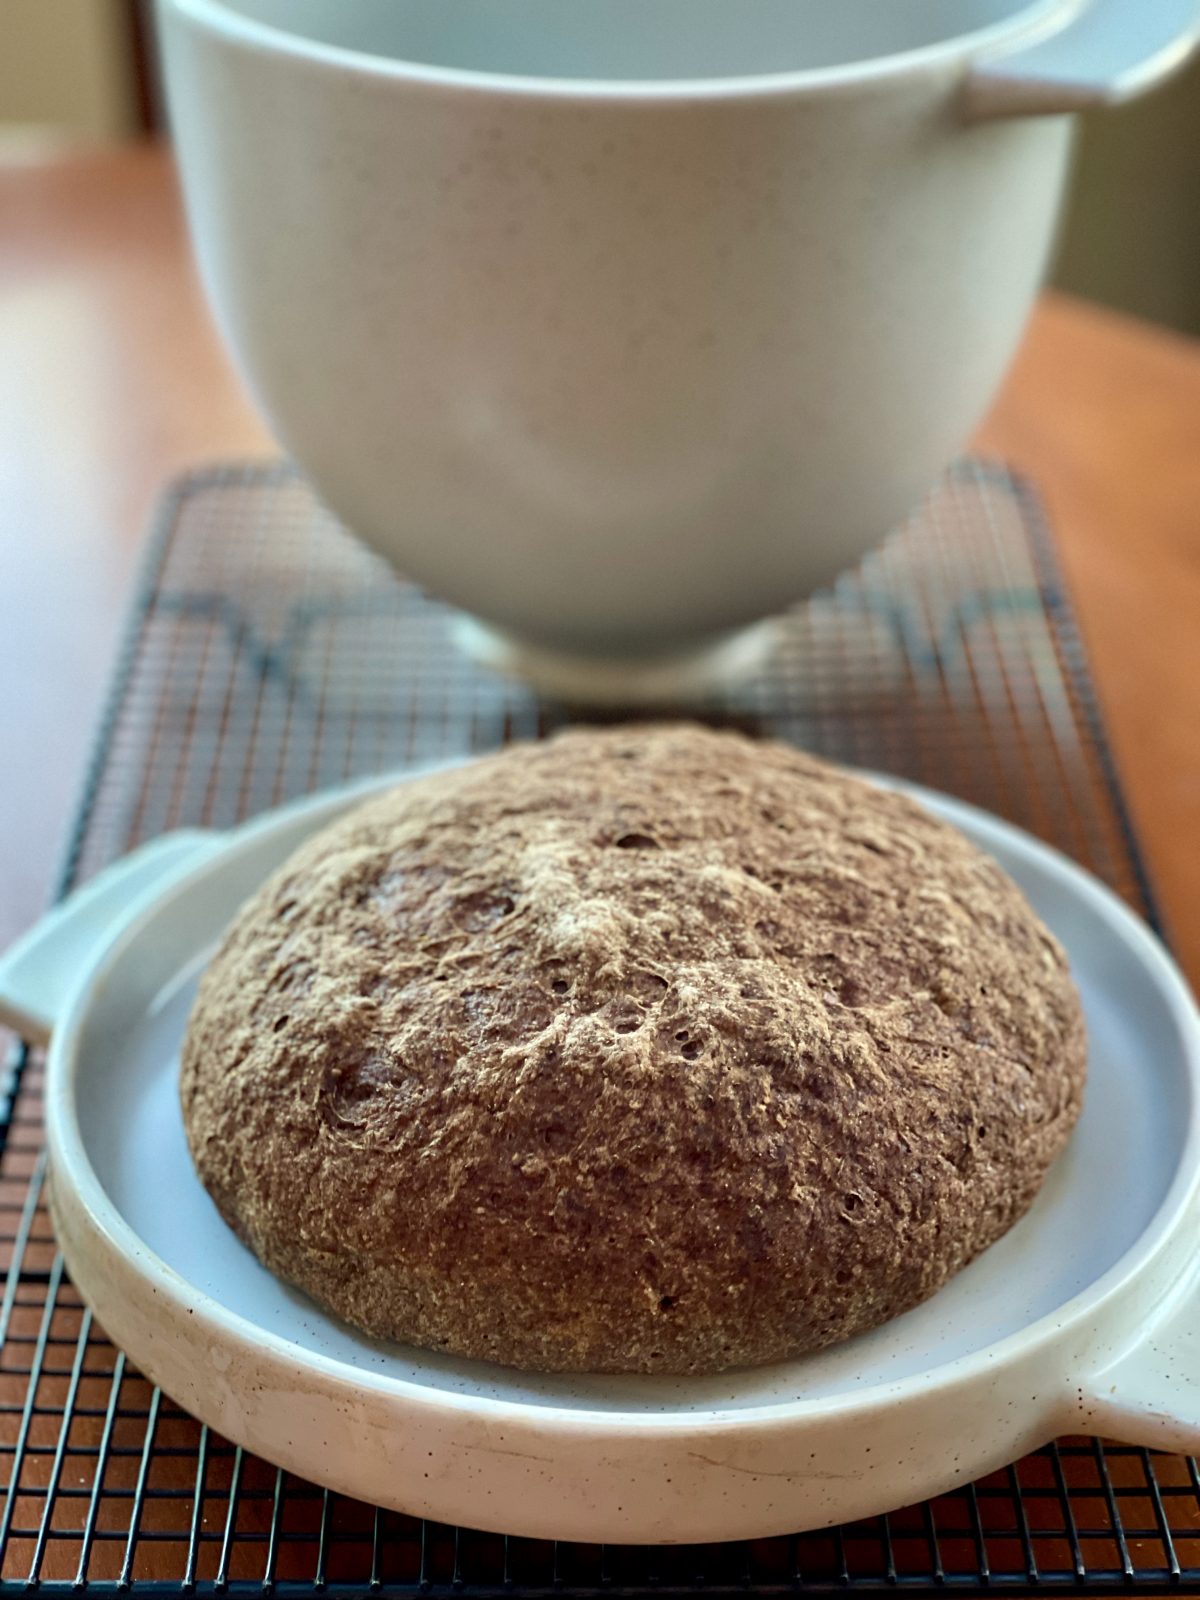
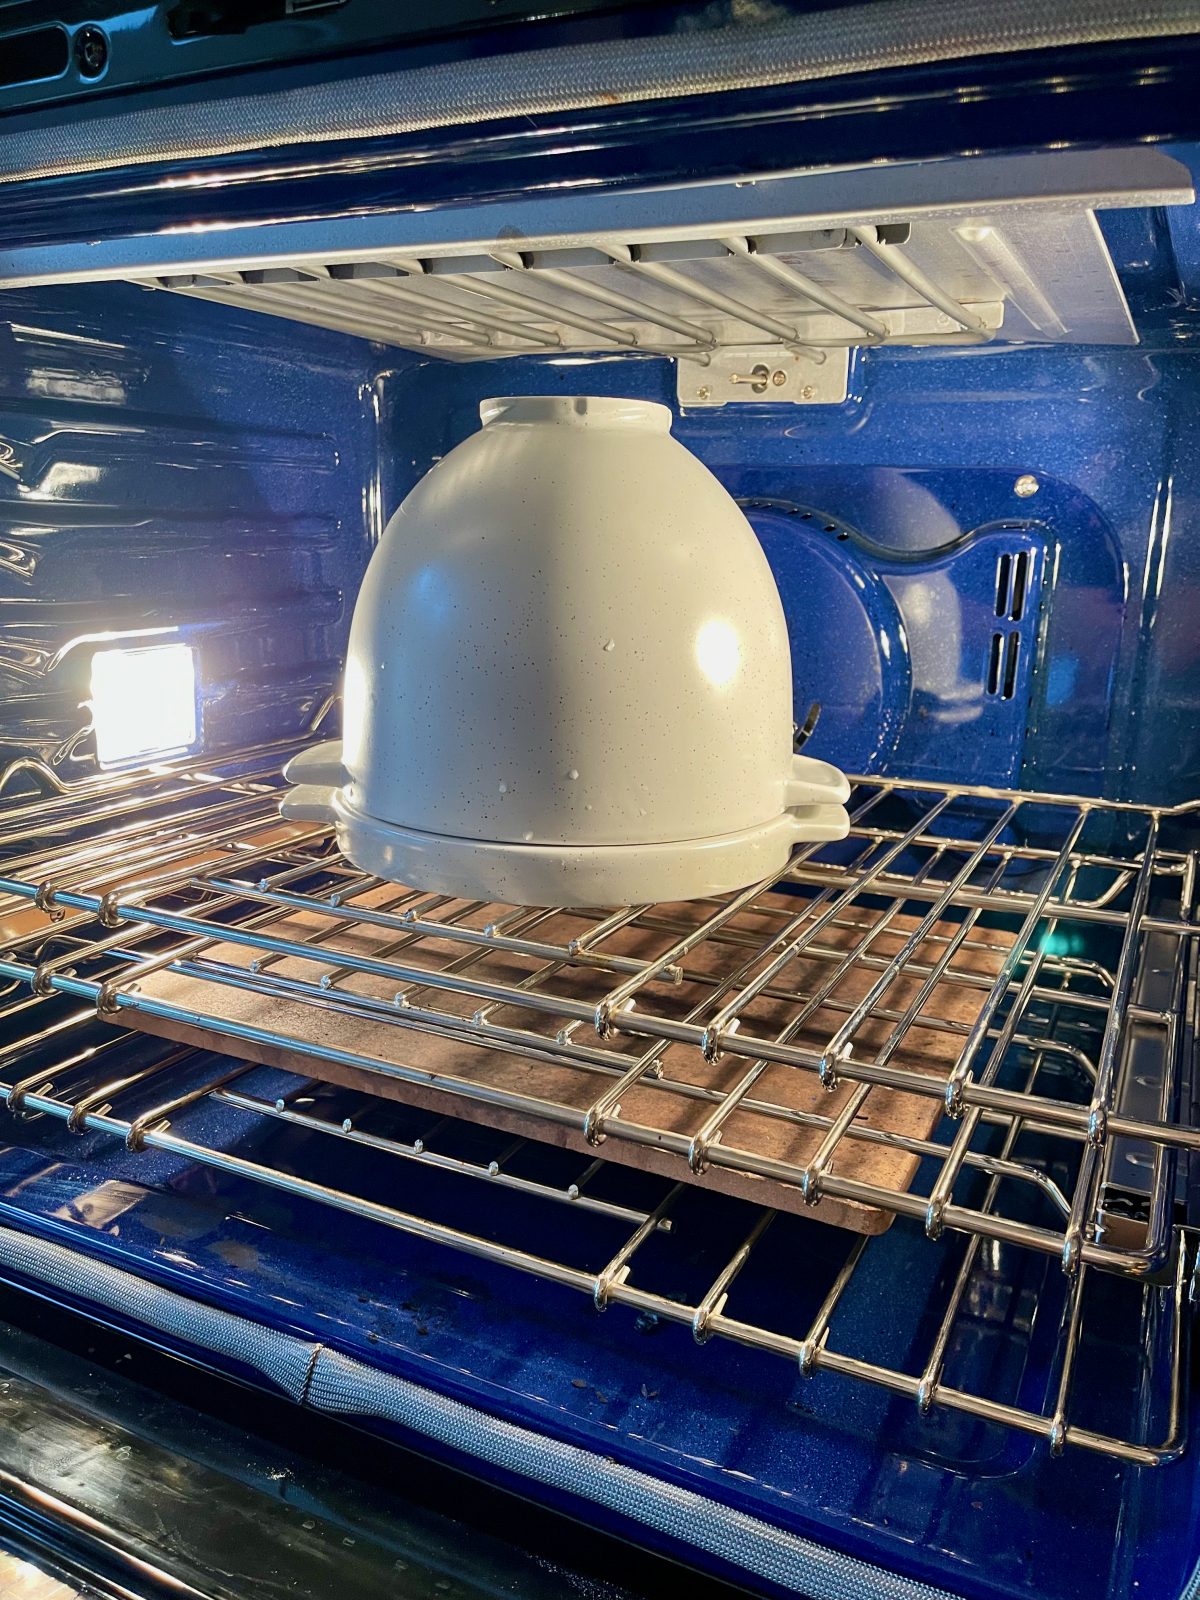
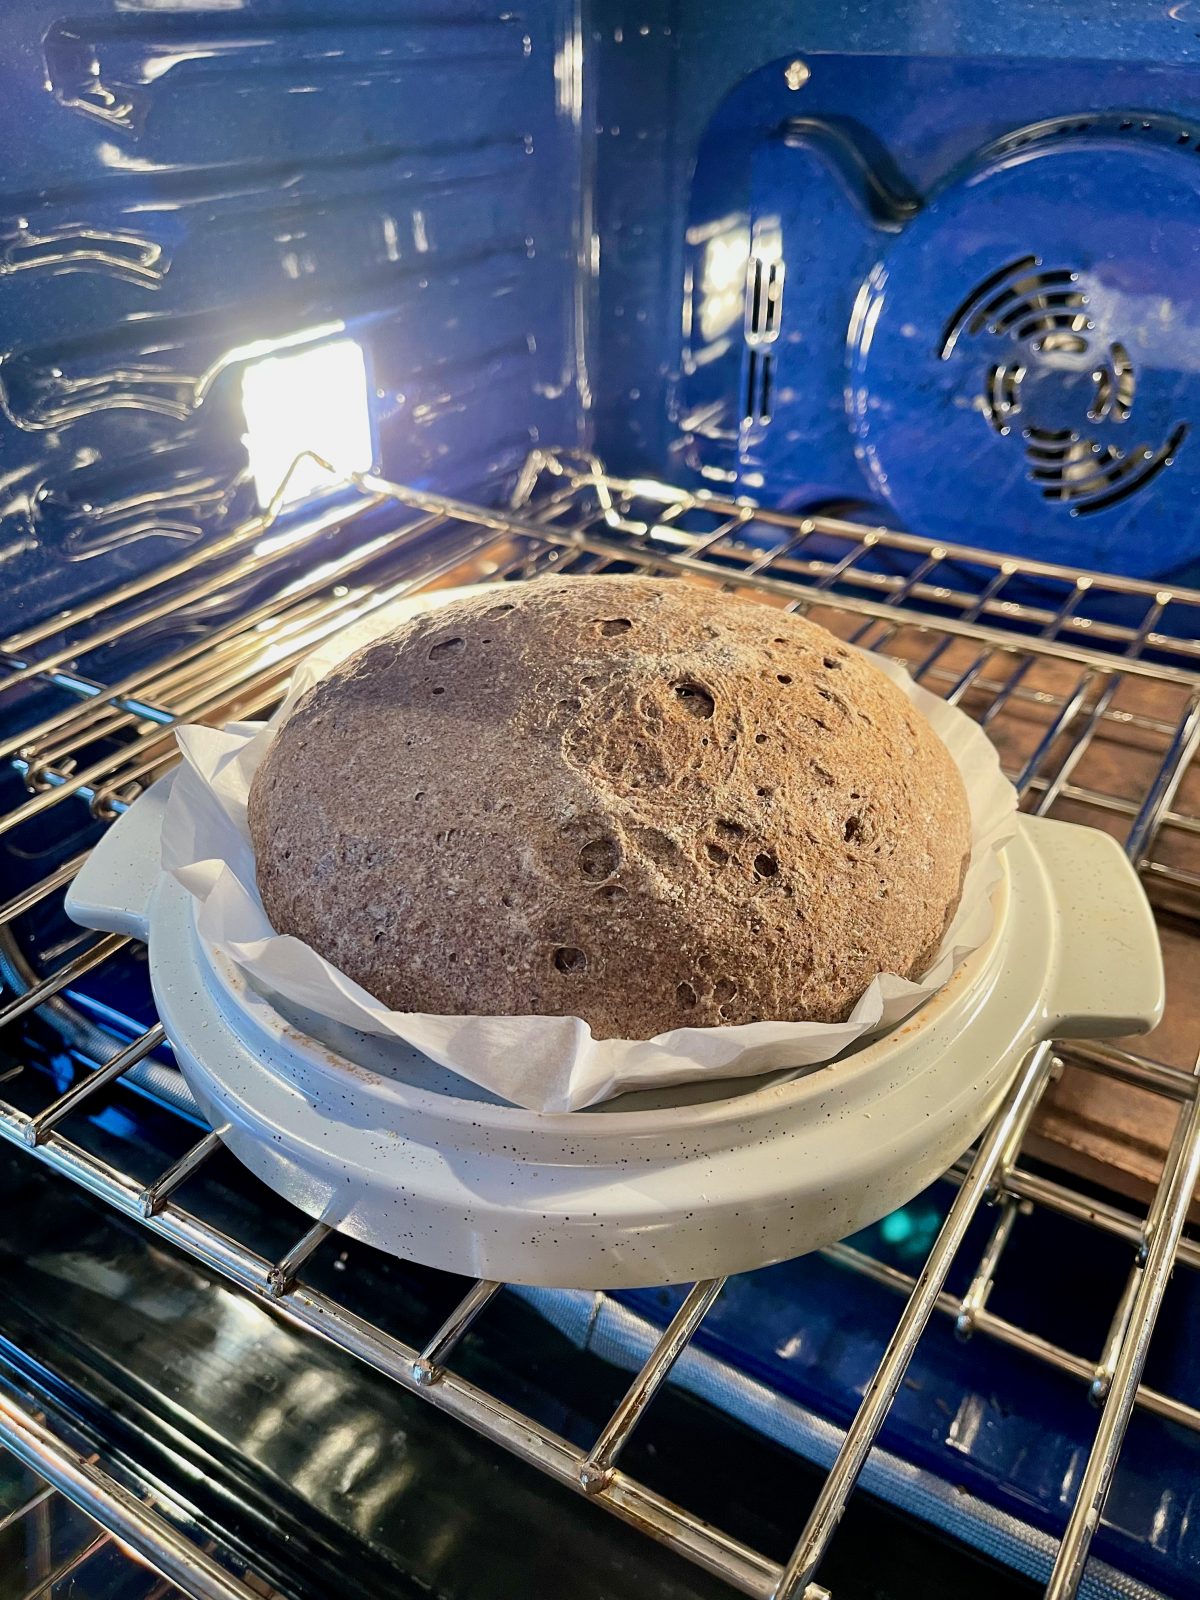
First Bake Covered – for Steam Oven Effect Then Bake Uncovered Gorgeous Gluten-Free Bread!
KitchenAid Bread Bowl (Gluten-Free) Bread
Equipment
- KitchenAid Bread Bowl Attachment
- KitchenAid 4.5 – 5 qt tilt-head Stand Mixer
Ingredients
- 1 packet active dry yeast (8g)
- 2 tablespoons sugar (20g)
- 1 1/2 cups +2 tablespoons warm water (about 110 degrees F) (390g) divided
- 1/4 cup psyllium husk* (rough husk form) (20g)
- 3/4 cup +3 tablespoons buckwheat flour (130g)
- 1/2 cup +3 tablespoons potato starch (not potato flour) (100g)
- 1/2 cup +2 tablespoons oat flour (90g)
- 2 teaspoons kosher salt (10g)
- 2 teaspoons apple cider vinegar (12g)
- neutral oil
Instructions
Making the Dough:
- Add yeast, sugar and 1/2 cup + 2 tablespoons (150g) warm water to small bowl, stir and let sit (bloom) for about 10-15 minutes or until foamy.
- While yeast is "blooming" – in small bowl, combine 1 cup (240g) water and psyllium husk, stir and allow to "gel' for at least 30 seconds.
- Warm KitchenAid Bread Bowl by filling it with hot water. Then pour out water and pat dry. Attach mixing bowl to 4.5 – 5 qt tilt head KitchenAid Stand Mixer.
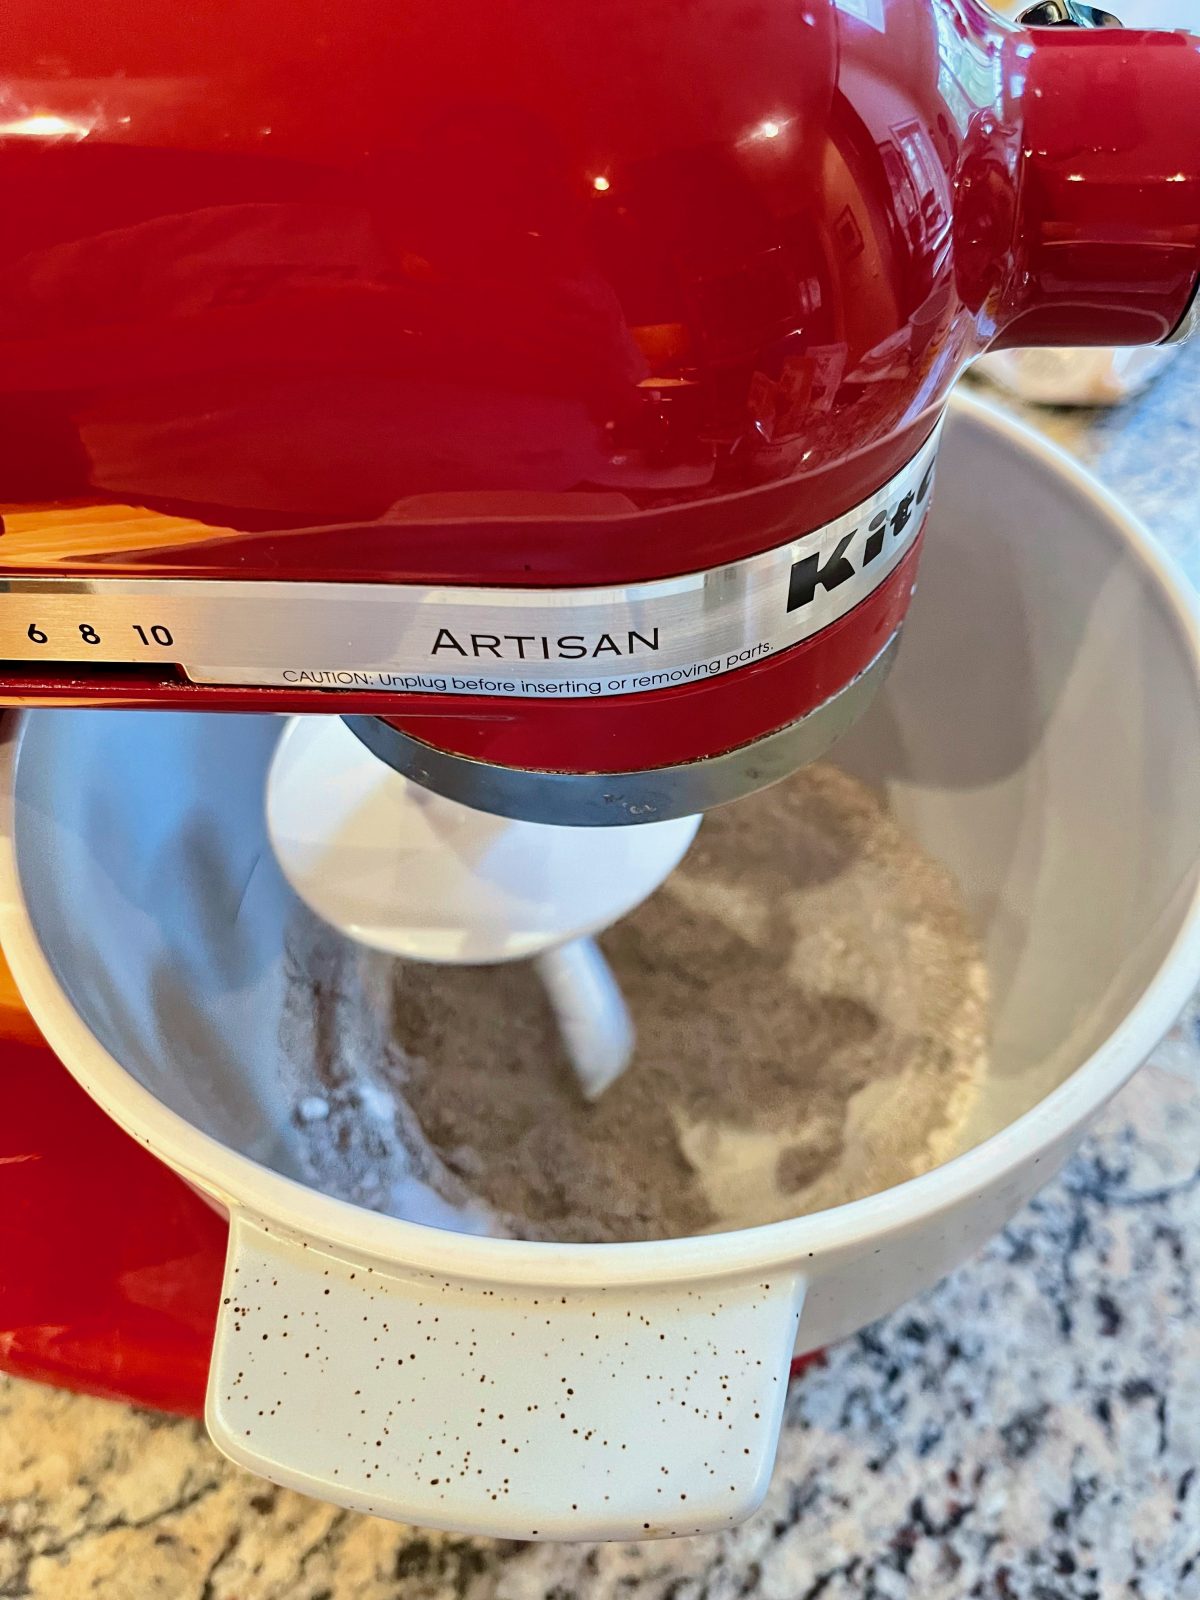
- To warmed bread bowl add buckwheat flour, potato starch, oat flour and salt. Attach dough hook and mix to combine dry ingredients.
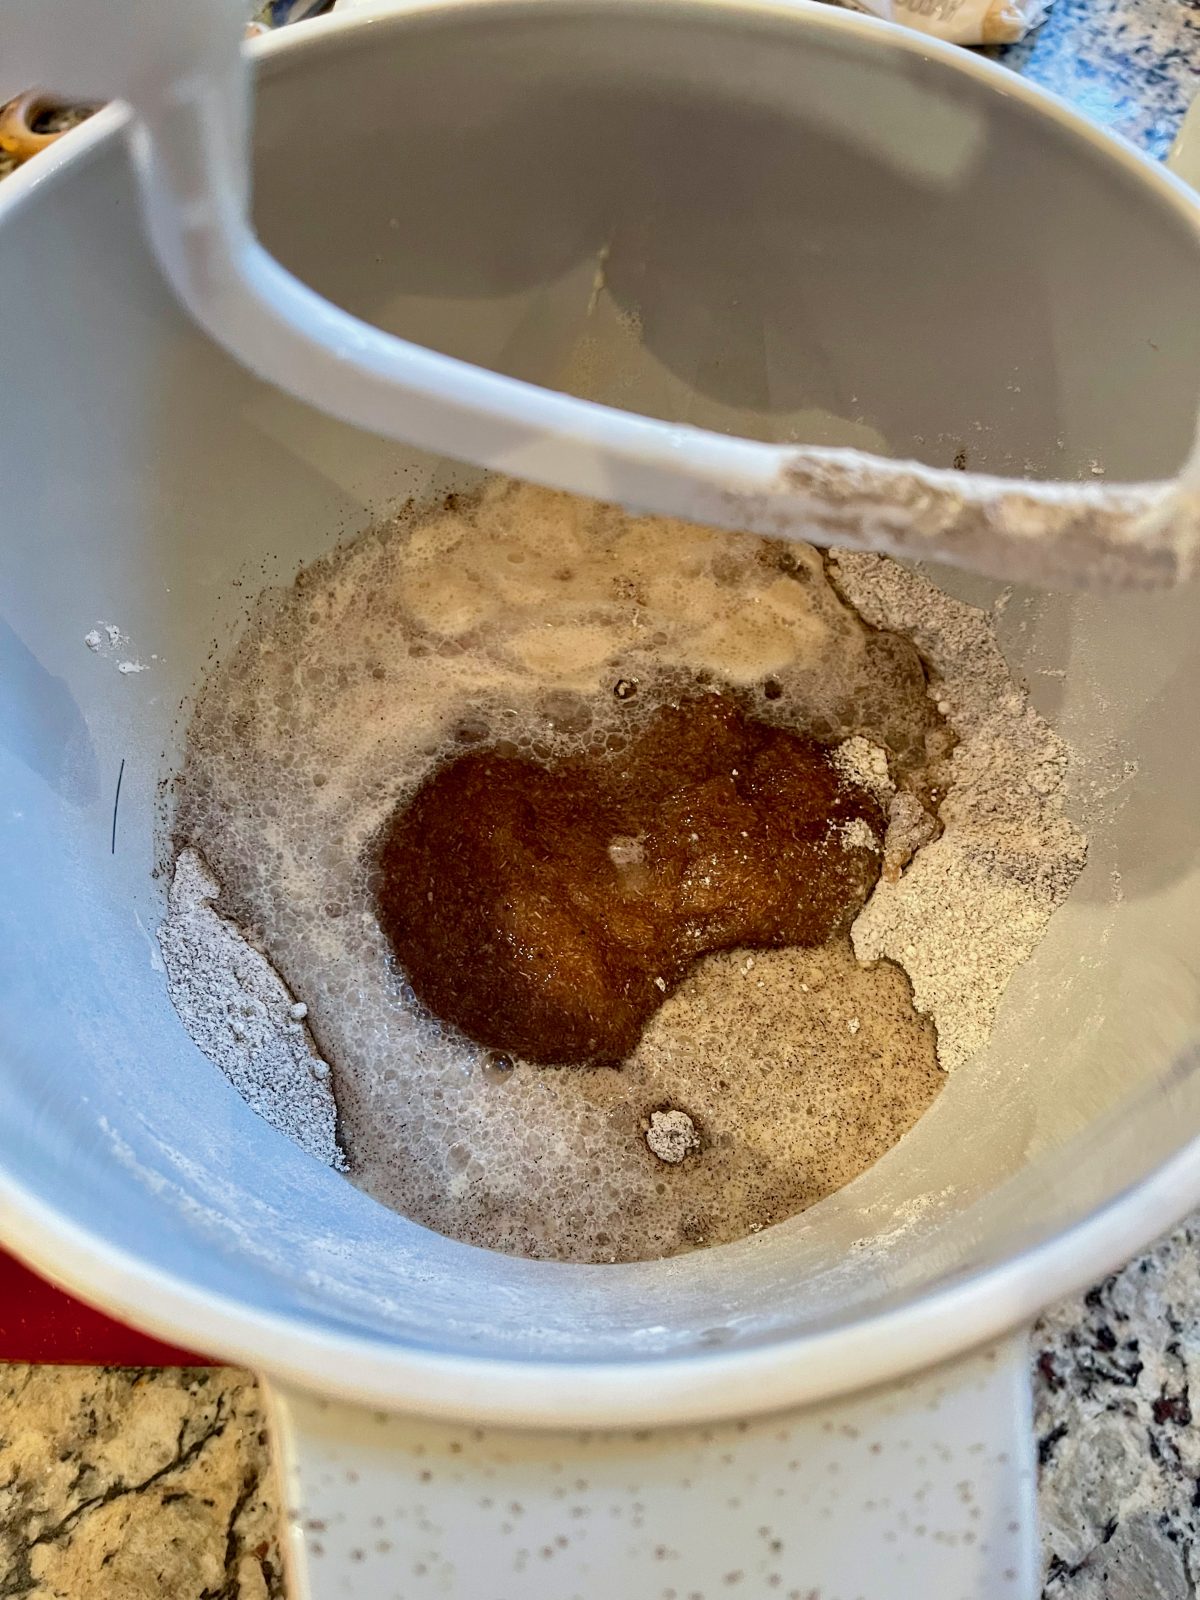
- Stir the apple cider vinegar into the psyllium gel mixture and add to dry ingredients in bowl. Add the yeast mixture as well. Knead on Speed 2 for about 2 minutes until dough forms ball and mixture starts to pull away from the sides of the bowl. Scrape down bowl as needed during the process.
First Rise:
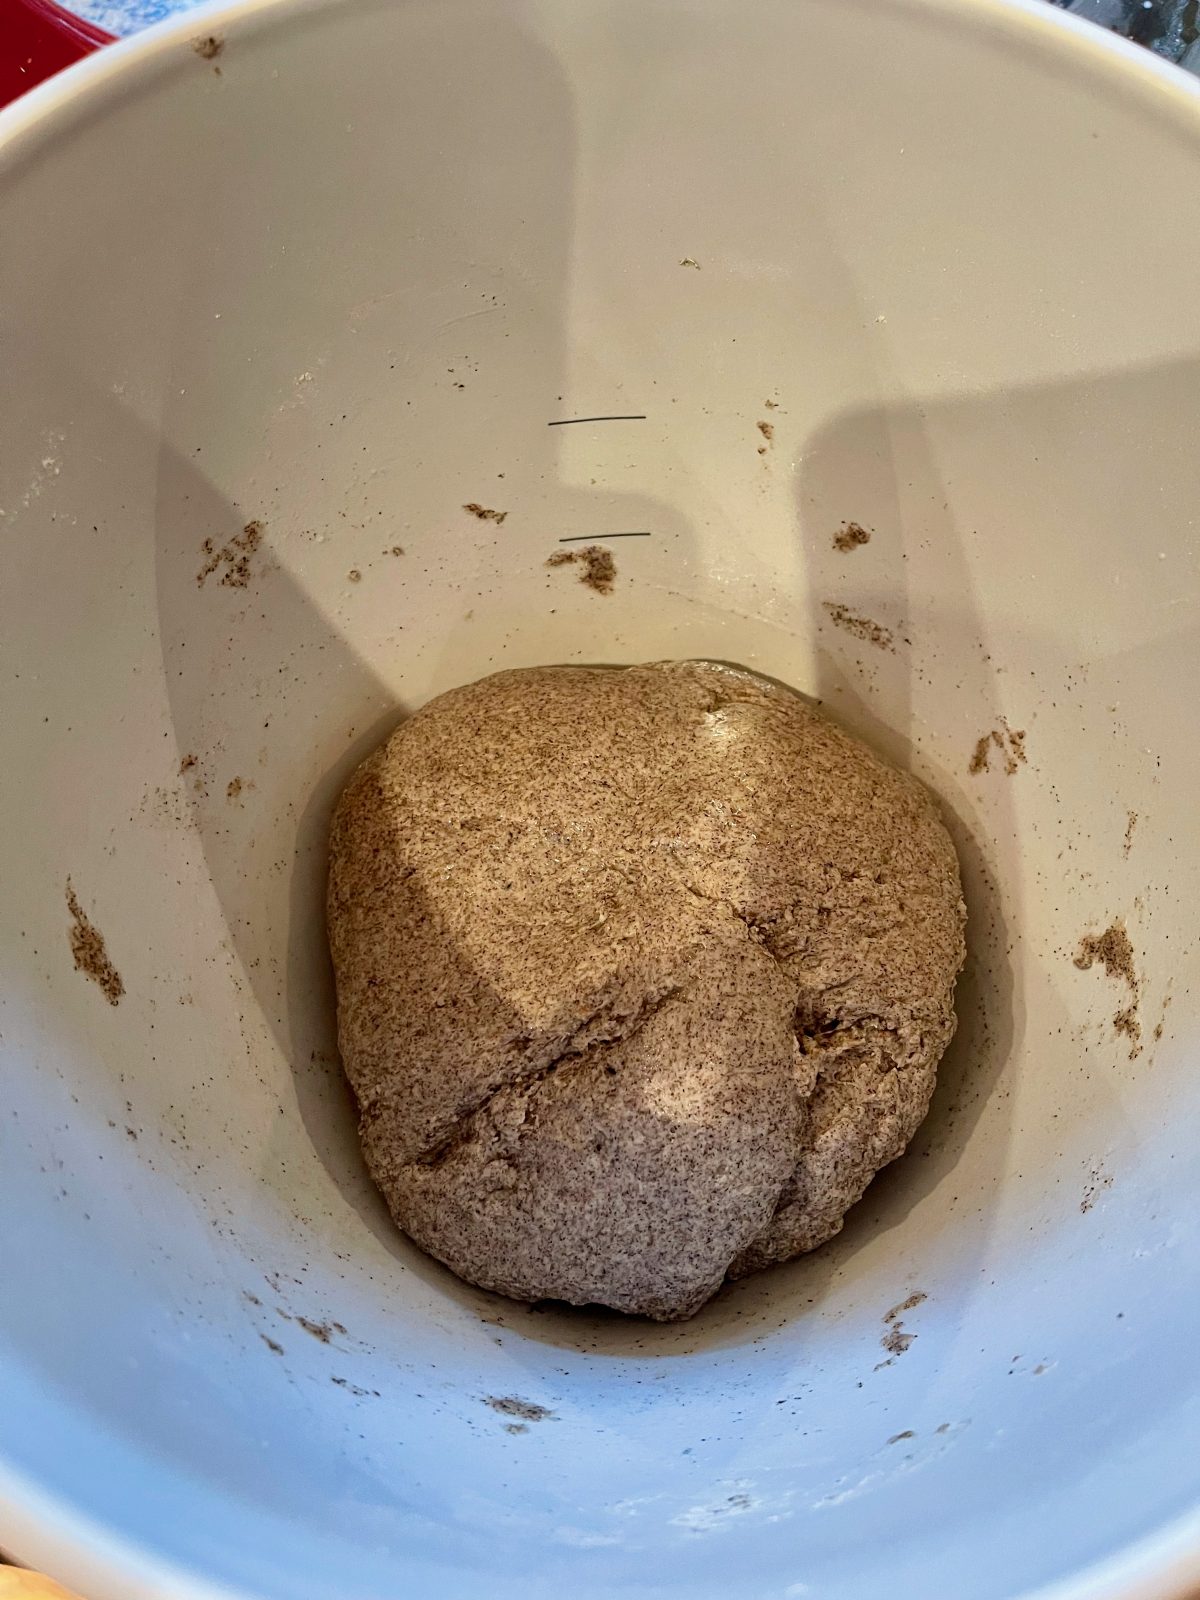
- Remove dough from bowl temporarily (place on plate or parchment.) Rinse out Bread Bowl, dry and rub with some oil. Place the dough into the oiled bowl, turn over so oiled side is facing up. Add lid to bowl and set to rise in warm place for 1 hour.
Second Rise:
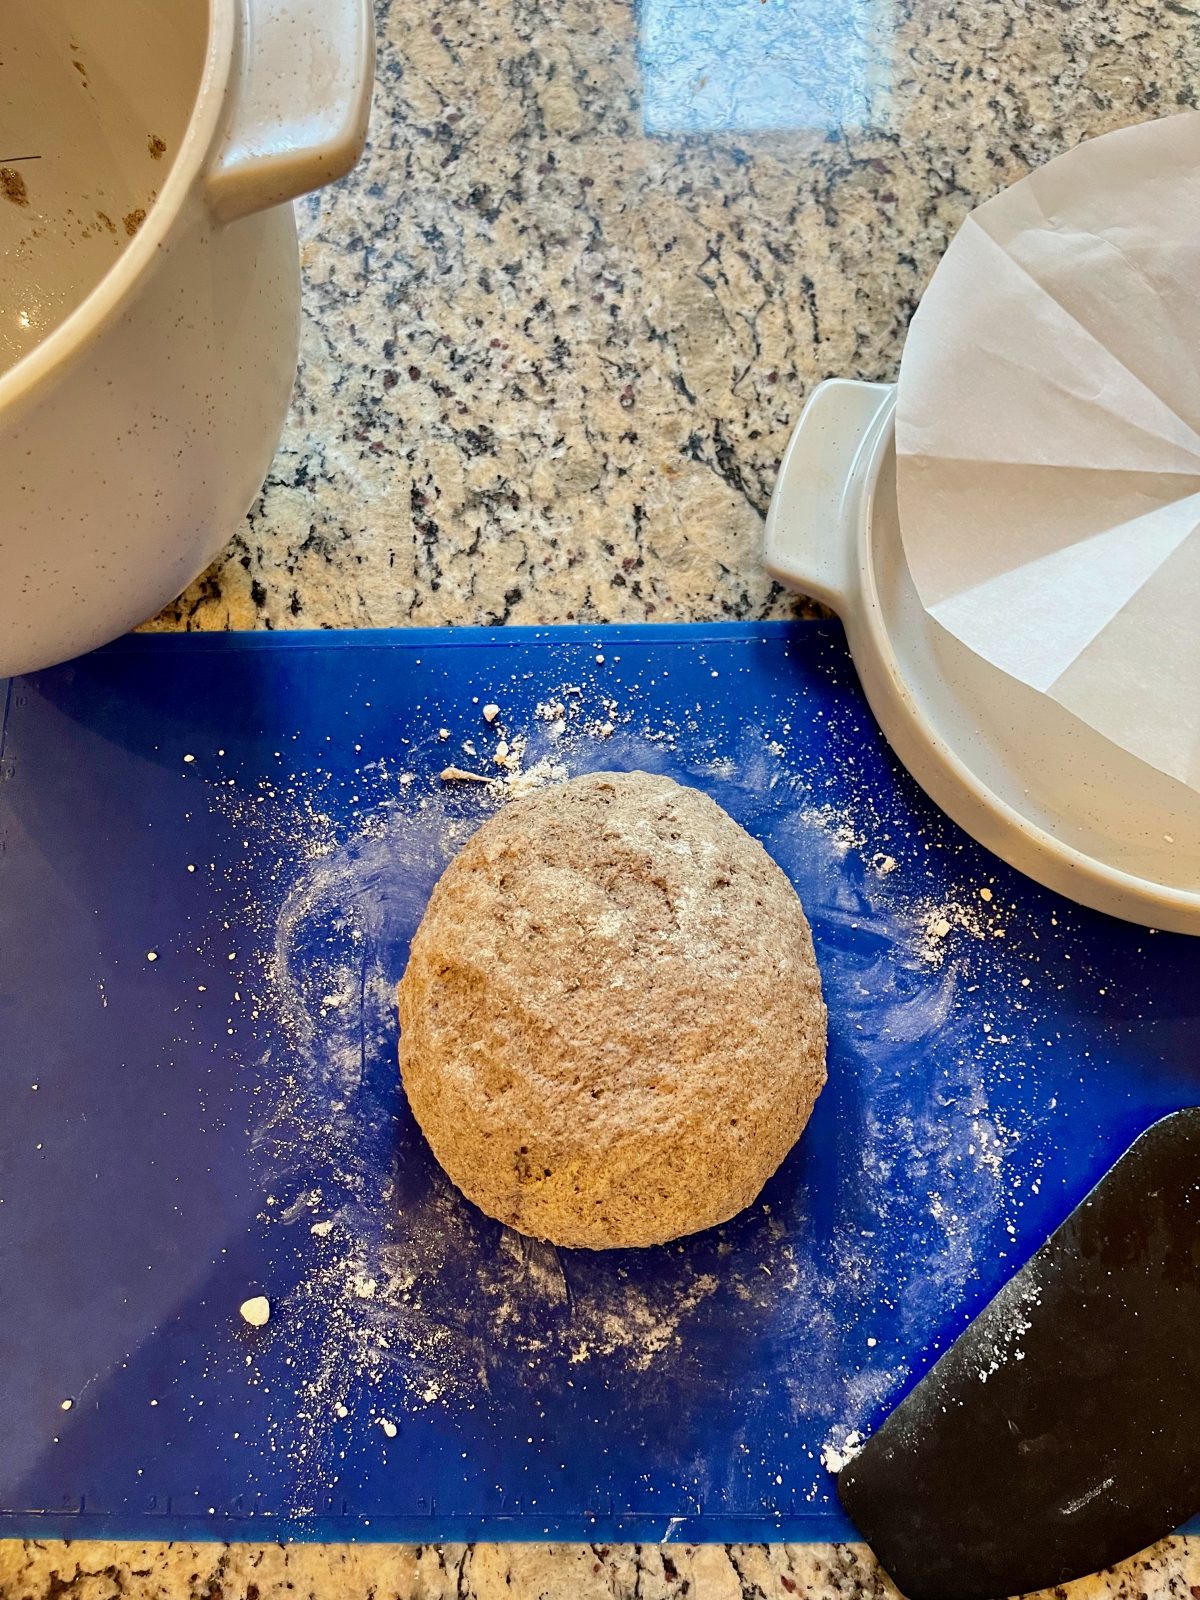
- Uncover the bowl and gently pull the dough out onto a lightly floured surface. (use one of the gluten-free flours from the recipe).
- Form the loaf by grasping the top of the dough, pulling gently outward and then folding downward to the center of the dough. Rotate the dough a 1/4 turn and repeat the folding. Continue for about 2 full turns or until the dough won't fold anymore (can start to tear.) Flip the dough seam side down and use hands to cup around the sides of the dough to form a nice round mound.
- Wipe out any pieces of residual dough in bowl. Sprinkle bowl with a little gluten-free flour. Return the dough, seam side down to the Bread Bowl, place the lid on and rise for about 1-hour in a warm place our until just about doubled in size.
- While dough is rising, set oven rack as close to the center of the oven as possible while still leaving enough height for the lidded Bread Bowl to fit.
- Preheat oven to 480 degrees F.
Baking Bread:
- Line the lid of the Bread Bowl with a round of parchment. (The side with the ridge about an inch from the edge – is the side the bread bakes on.)
- Carefully invert the dough from the Bread Bowl onto the parchment covered lid – taking care to not deflate the dough (the fold-side facing upward). Wipe any excess dough/flour from inside bread bowl – wash out/dry if necessary.
- Invert Bread Bowl onto lid (with dough) and place in oven. (Lid now on the bottom, bowl upside down over the lid/loaf.)
- Bake covered for 30 minutes. After the 30 minute covered bake time, carefully remove the Bread Bowl. (I find it easiest to slighlty rotate lid with my pot holders, then I can more easily grip the lid handles to remove.)
- Reduce oven temperature to 450 degreees F. and continue to bake loaf for 40 minutes uncovered. The loaf will develop a dark crust (and will be about 208 degrees F when tested with an instant read thermometer at the center of the loaf) – when done.
- Remove from oven and cool completely on a wire rack before cutting.


Wonderful bread recipe!
Thanks Keith!
Thanks for the pictures included with the recipe. It makes it much easier to see if you’re doing the steps correctly. I’ve never made gluten free bread so I’m excited. I also like that you provide recipes for specific products! I’ve never seen that. Thanks for sharing. I look forward to trying this. Shalom