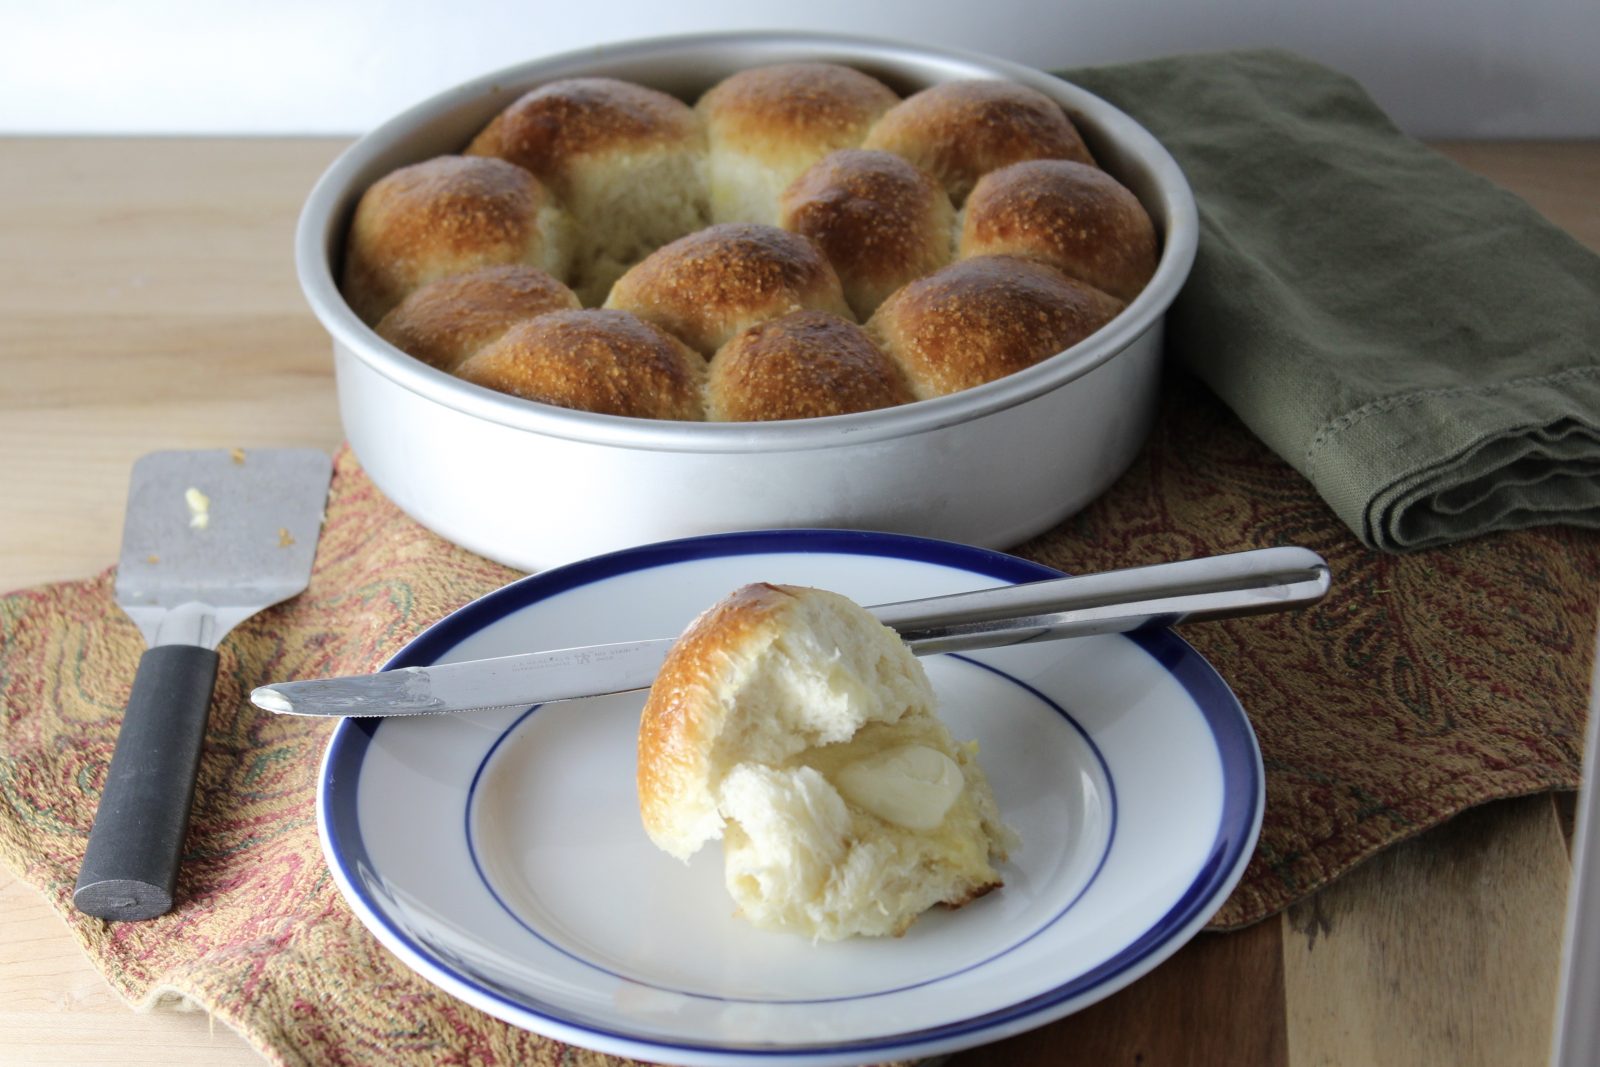
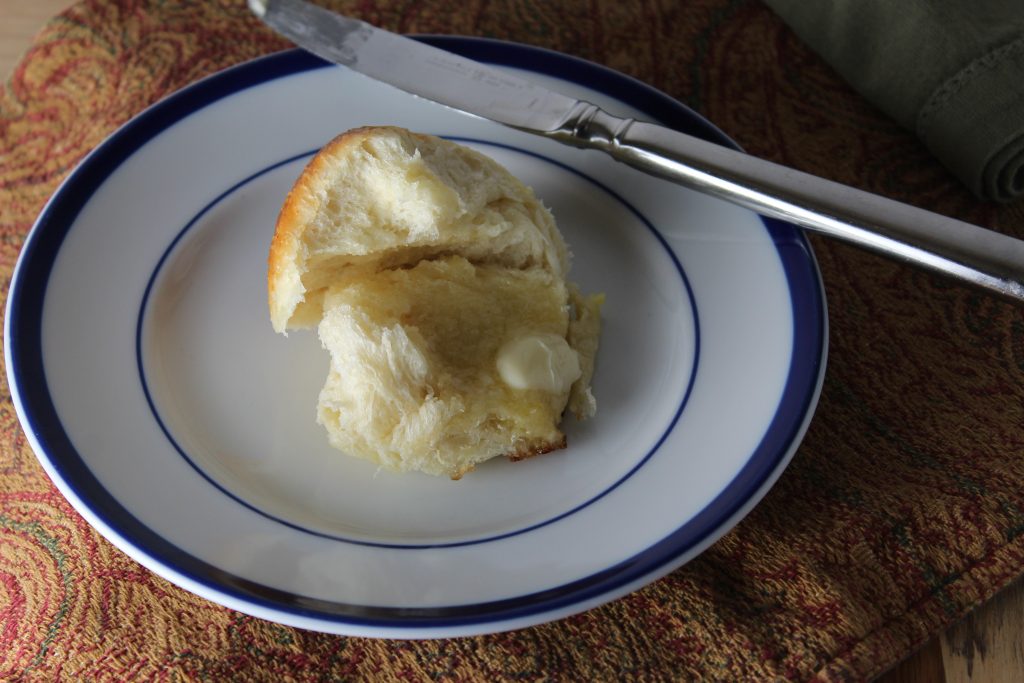
mmm…is there anything better than creamy butter melting on a warm fluffy yeast roll?
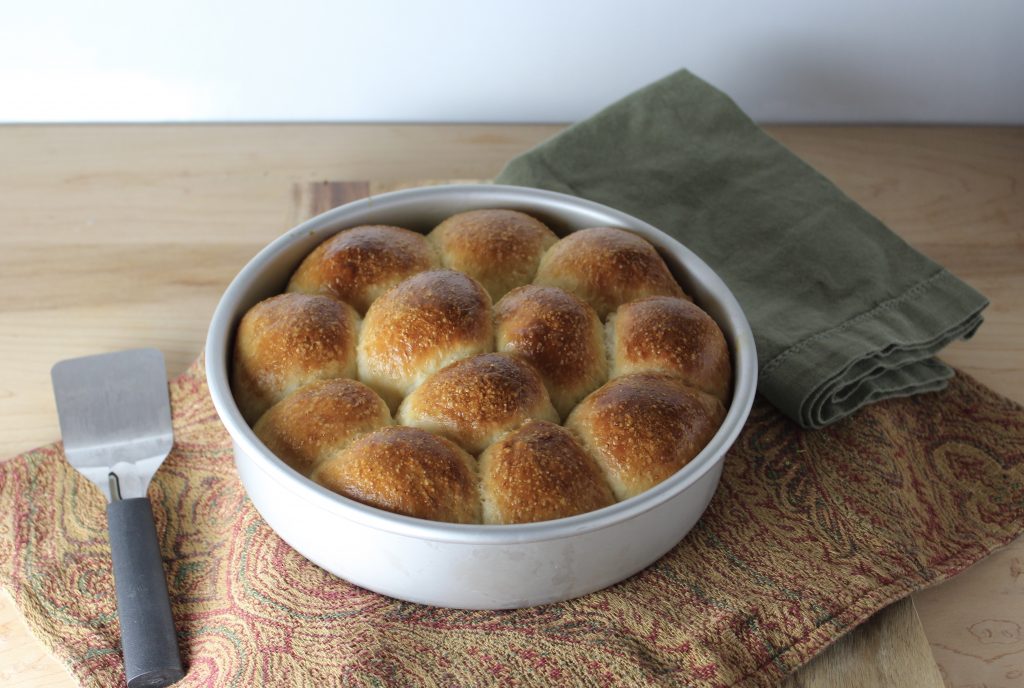
These rolls come together quickly. First, mix your ingredients, then knead the dough. You can knead by hand, with a mixer fitted with a dough hook attachment or with a food processor fitted with a dough blade. For this batch, I used my KitchenAid 9-Speed Digital Hand Mixer with Dough Hooks. Let the dough rise until double, push it down and divide into 12 portions. Let them rise in your greased pan, then bake!!
Fluffy Yeast Dinner Rolls
These fluffy, light yeast rolls that come together quickly! You can mix these by hand, with a hand or stand mixer, or you can knead in a food processor with a dough blade. Make sure you have plenty of butter on hand to slather them with!
Print
Pin
Rate
Servings: 12 rolls
Ingredients
- 2 cups flour all-purpose
- 1 envelope instant/rapid rise yeast 1/4 oz. or 2 1/4 teaspoons
- 2 tablespoons sugar
- 3/4 teaspoon salt I use coarse kosher
- 1/2 cup milk
- 1/4 cup water
- 2 tablespoons butter I used salted
- 2 tablespoons oil for greasing bowl & pan
- 1 large egg for egg wash - optional
- 2 teaspoons water for egg wash - optional
Instructions
To Mix & Knead by Hand, Hand Mixer or Stand Mixer Fitted with Dough Hook(s)
- Combine the flour, yeast, sugar and salt in bowl, stir to mix.
- In microwave-safe measuring cup or in saucepan warm milk, water and butter to 110 degrees F.
- Add warmed milk mixture to flour mixture in bowl and mix on low speed (2 on stand mixer.) Knead until smooth and elastic (2-5 minutes). If mixture is very wet and sticky, add another tablespoon or 2 of flour - use as little as possible.
To Mix & Knead in Food Processor
- Fit dough blade into the bowl of food processor. Combine the flour, yeast, sugar and salt in bowl, pulse to mix.
- In microwave-safe measuring cup or in saucepan warm milk, water and butter to 110 degrees F.
- With food processor running on high, pour warmed milk mixture in through the feed tube of food processor. (Pour in a steady stream, should take less than 10 seconds to pour in.) You may need to stop and scrape the mixture down from the sides of the bowl. Pulsing sometimes is helpful to pull the mixture together. Once it forms a ball, allow it to roll around in the food processor a few times to knead the dough. If the dough seems way too wet or way too dry, you can add a tablespoon or two of flour or a teaspoon or two of water during the process.
First Rise of Dough:
- Use some of the oil to grease the inside of a bowl. Place your ball of dough into the oil, then turn it so the oiled side is upwards (this helps the dough from drying out.) Cover the bowl with plastic wrap, waxed paper or a clean kitchen towel and place in a warm spot (80 degrees or so) to rise. (Sometimes at this point I'll snap a quick picture of the dough on my phone to help determine later when it has risen and doubled in size)
- Once it's doubled in size (check your photo if you took one) and you can push a finger into the dough, pull out the finger and if the indentation remains, it's risen enough. Can take 20 minutes to an hour depending upon how warm your room is.
- Use some of the oil to lightly grease an 8-inch round or square pan.
- Gently press down the dough to release the air that made it rise. Divide the dough into 12 portions. I usually take a knife and gently cut the dough right in the bowl into 4 wedges, then I cut those wedges into 3 smaller wedges to get 12 portions. If easier, you can do this on a cutting board. Form each piece into a rounded ball and arrange in the prepared pan. Leave a little space between them. Cover loosely with greased plastic wrap.
Second Rise of Dough:
- Make Ahead? At this point, if you want to bake them off later, you can cover them in the pan and place in the refrigerator for a few hours. They will take a little longer to rise when taking out of the refrigerator as they will be much colder.) I usually account for an extra 30 minutes or rise time.
- Preheat oven to 375 degrees F. Oven rack should be in lower-middle position.
- (Take a photo if you want a reference for when they've doubled in size.) Cover with plastic wrap, waxed paper or a clean kitchen towel and place in a warm spot until doubled in size, warm and puffy.
Bake:
- When ready to bake, remove any coverings from pan. If brushing with egg wash, whisk together the egg and 2 teaspoons water and lightly brush over the risen rolls. (You won't use all the egg wash.)
- Place in oven and bake for about 20 minutes (rotate pan half-way through) or until golden brown. You can check for doneness by taking the temperature of a roll toward the center of the pan, insert an instant read thermometer from the edge of a roll into the center. It should read at least 190 degrees F.
Notes
Helpful Post on How to Rise Dough & How to Test When It's Risen Enough
To Make Slider Bun Version:
After forming dough into the 12 portions, place them on a greased baking sheet with at least 3" between them. Cover loosely with greased plastic wrap and continue with 2nd rise, then baking. Tried this recipe?Share it! Tag @epicuricloud - Please Leave A Comment & Rating Below! TY!


Tina and David
We love your show David
Tina and David
Why donr you guys start
Selling the the whole set of the
Square white dinner plates
You know the whole set and the same thing for the clear bowl with the rim
I bet if you guys so that you would sell alot of them.
Have a great week to you and David and all the staff
From Lisa ♥️
You have a great week too Lisa! Great ideas! Thanks so much for watching! Tina ( :
Tina, I do really enjoy watching and learning from you, and your recipes. I really wished you would write your own cookbook and how you use kitchenaid products to make them plus other was you could use . I have two kitchenaid STANDMIXER one is a 4.5
Quart STANDMIXER I bought in 1997 right after I had , had some major surgery and I have used it for making cakes, but I know that I could use it for other recipes,
But I don’t know what. Then a few months ago I got a 6 QT STANDMIXER in Gloss Cinnamon my first STANDMIXER the 4.5 QT in Almond color. I have 2 Kitchenaid hand mixer in gloss cinnamon and 1 in white I have just a few weeks ago I received a small food processor.
I have many of the sprial cutter and the other things that you use in the hub . But I need recipes to use them .
Please, Please Tina write A Cookbook it would be a BIG HIT.
Also a Hand Mixer in BIRD OF PARADISE COLOR
PLEASE, I would love to have one in that color
And other things too
Thanks
Vannessa. Genzel@yahoo.com
Hi Vannessa! Thanks for reaching out! You have a wonderful KitchenAid collection for sure! Hoping to write a cookbook soon! KitchenAid does have recipes for many of their products. They are usually posted on the product detail page on QVC.com. Let me know if I can help in any way.
Tina – Love your recipes and watching you on QVC. If I don’t have rapid rise yeast and want to use regular yeast, would the recipe be different? I have a 4.5 qt. stand mixer in almond from the early eighties, hand mixer and the 9 cup food processor. My suggestion would be to make the food processor chute wider so it would accommodate larger pieces. Love the new lid lift on it. Pls. let me know about the roll recipe, my husband loves rolls. Thank you
Hi Ricki – Regular yeast is fine!! We have to work with what we have on hand – especially now! To give regular yeast a little head start you can “bloom” it in the warm milk, water, butter mixture (just make sure it’s not over 115 degrees F.) and even add a pinch of the sugar. Stir and let the mixture sit for about 5 minutes – it should get foamy! This helps activate the yeast as regular yeast can take a little longer to rise/proof than instant yeast.
Thank you Tina – you are the best. Delicious and easy even for a novice baker! Happy Thanksgiving and stay safe.